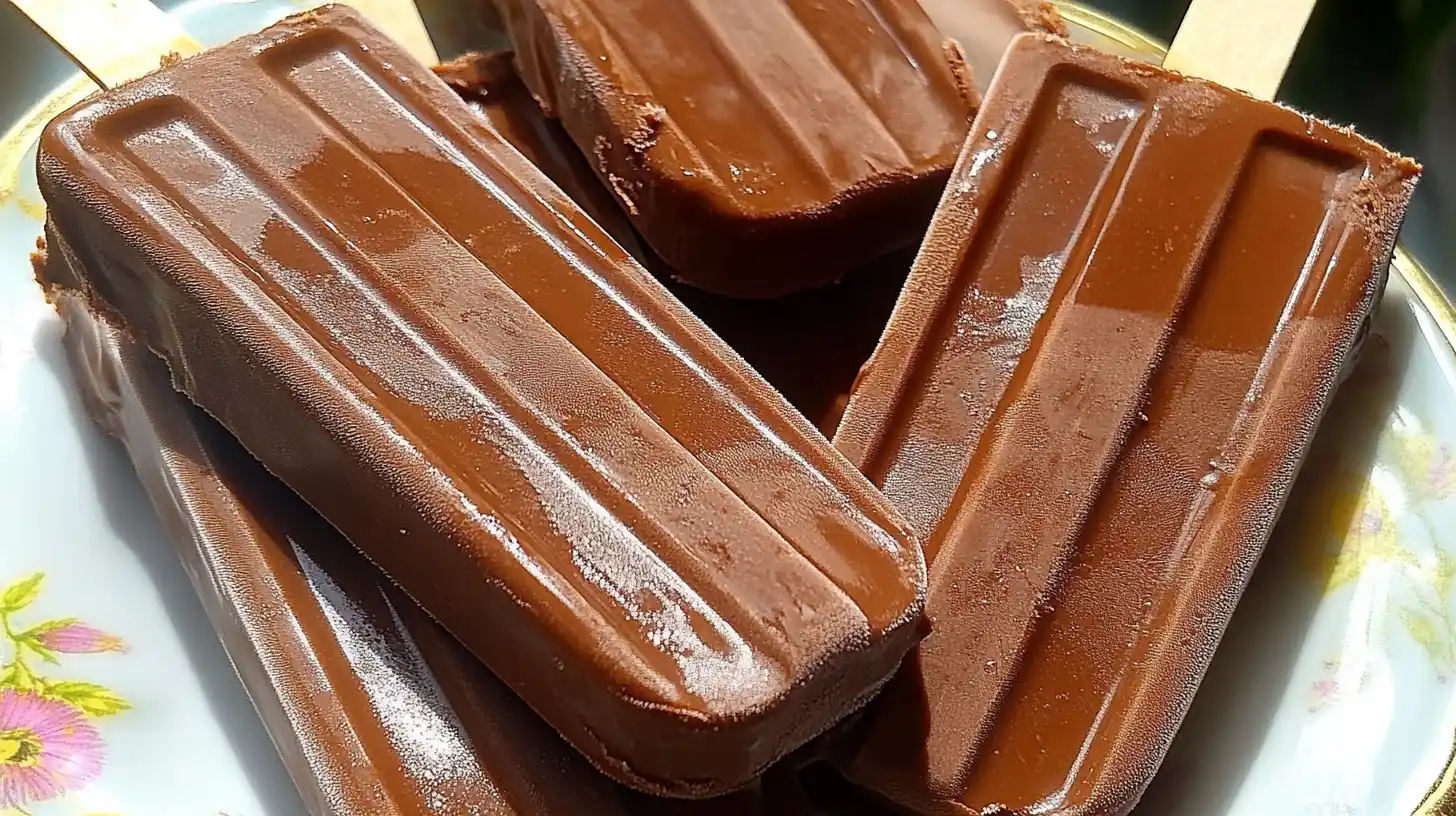
There’s nothing quite like biting into an icy, rich, chocolatey fudgesicle on a warm afternoon. These homemade fudgesicles are a dream come true—creamy, indulgent, and made with simple ingredients you probably already have in your pantry. Ditch the boxed versions and treat yourself to a frozen dessert that hits all the right nostalgic notes, but with a homemade touch.
Why You’ll Love This Recipe
These fudgesicles are not just chocolatey; they are deeply fudgy with a luxurious texture that melts smoothly on your tongue. They’re made with real cocoa powder and just the right amount of sweetness, giving you full control over the flavor. Plus, they’re super easy to whip up and freeze—no special equipment required.
Pure Comfort
Homemade fudgesicles bring back the joy of childhood summers, only now, they’re better because you can make them exactly how you like. Whether it’s an after-school treat or a midnight snack, one bite of these frozen delights will take you straight to your happy place.
Ingredients
Dry Ingredients
- 1/3 cup unsweetened cocoa powder
- 1/2 cup granulated sugar
- Pinch of salt
- 2 tablespoons cornstarch
Wet Ingredients
- 2 1/2 cups whole milk
- 1 teaspoon vanilla extract
- 2 tablespoons butter
What You Need
- Medium saucepan
- Whisk
- Measuring cups and spoons
- Silicone or plastic popsicle molds
- Popsicle sticks
- Freezer space
Time to Cook
Prep time: 10 minutes
Cook time: 10 minutes
Freeze time: 4–6 hours or overnight
Steps to Make It
1. Combine Dry Ingredients
In a medium saucepan, whisk together cocoa powder, sugar, salt, and cornstarch until well mixed and no lumps remain.
2. Add the Milk
Gradually add the milk, whisking constantly to ensure the dry ingredients dissolve smoothly. This helps prevent any clumping.
3. Heat the Mixture
Place the saucepan over medium heat and cook, stirring constantly, until the mixture thickens. This usually takes about 7–10 minutes. The mixture should coat the back of a spoon.
4. Add Butter and Vanilla
Remove the saucepan from heat. Stir in the butter and vanilla extract until fully melted and incorporated. Let the mixture cool for 10–15 minutes.
5. Pour into Molds
Carefully pour the mixture into your popsicle molds, leaving a little space at the top for expansion. Insert sticks and secure the lids.
6. Freeze
Place the molds in the freezer for at least 4–6 hours or overnight for best results.
7. Unmold and Enjoy
To release, run warm water over the outside of the molds for a few seconds and gently pull out your fudgesicles.
Make It Perfect
Use whole milk for a creamier texture, or substitute with coconut milk for a subtle tropical twist. Stir constantly during heating to avoid scorching the chocolate or curdling the milk. For smoother fudgesicles, strain the mixture before pouring it into molds.
Mix It Up
- Add mini chocolate chips or crushed cookies for a fun texture.
- Swirl in some peanut butter before freezing for a sweet-savory kick.
- Use almond or oat milk for a dairy-free version.
- Add a dash of espresso powder for mocha-flavored pops.
Perfect Partners
Pair your fudgesicles with:
- Fresh berries or fruit salad
- Iced coffee or a vanilla milkshake
- Whipped cream for dipping
- Crushed nuts for a crunchy coating
Busy Day Hero
Got 20 minutes of prep and a freezer? You’re all set. These fudgesicles are a lifesaver for those busy weeks when you still want a little indulgence without turning on the oven.
Work Ahead
Make a double or even triple batch and store them in the freezer for up to 2 months. They’re perfect for spontaneous cravings, last-minute guests, or just because.
Save Some For Later
Wrap the unmolded fudgesicles individually in wax paper or plastic wrap and keep them in a freezer-safe container. That way, they won’t stick together and are ready to grab-and-go.
Everyone’s Happy
Kids love the creamy sweetness. Grown-ups appreciate the nostalgic taste with a gourmet upgrade. These fudgesicles are guaranteed crowd-pleasers at parties, playdates, or quiet nights in.
Good For You Too
While they’re definitely a treat, these fudgesicles contain no artificial flavors or preservatives. And with the ability to control your sugar and milk choices, they’re a better-for-you option than most store-bought brands.
Easy Clean Up
One pot, one whisk, and molds. That’s all. Clean-up is a breeze, especially if you give everything a quick rinse before the chocolate sets.
Switch It Up
- Turn them into fudgesicle floats with a splash of cream soda.
- Dip half the popsicle in melted chocolate and sprinkle with crushed nuts.
- Roll in shredded coconut or sprinkles before serving.
Simply Perfect
These homemade fudgesicles are a simple, satisfying way to bring joy into your day. They’re a chocolate lover’s dream that’s easy enough to make anytime and tasty enough to share with everyone.
FAQs
1. Can I make these fudgesicles dairy-free?
Yes! Use almond, oat, or coconut milk and a plant-based butter substitute.
2. How long do homemade fudgesicles last in the freezer?
They last up to 2 months if stored properly in an airtight container.
3. Can I use chocolate syrup instead of cocoa powder?
It’s not recommended—it’ll change the texture and might be too sweet. Stick with cocoa for best results.
4. What if I don’t have popsicle molds?
Use small paper cups or silicone muffin liners with wooden sticks as an alternative.
5. How do I prevent ice crystals from forming?
Be sure to cool the mixture before freezing and wrap individual pops in wax paper after freezing.
6. Can I add protein powder to this recipe?
Yes, just reduce the cocoa slightly and mix the powder thoroughly to avoid lumps.
7. Are these suitable for toddlers?
Yes, but consider reducing the sugar and using full-fat milk for younger children.
Conclusion
Homemade fudgesicles are a fun and fulfilling way to enjoy a classic frozen treat with a personal twist. With their deep chocolate flavor and creamy texture, they’re sure to become a favorite for both kids and adults. Whether you’re cooling off in the summer or just in the mood for chocolate, this recipe delivers pure joy on a stick.
Chill Out with More Frozen & Fun Sweet Treats
If those Homemade Fudgesicles brought a wave of chocolatey bliss, you’re going to love these other sweet and satisfying creations! Beat the heat with a slice of the no-fuss Oreo Ice Cream Cake—perfect for birthdays or backyard parties. Craving something with a candy-coated crunch? The Cotton Candy Swirl Candy Apples add a fun twist to your treat tray. For another chocolate delight, try the rich and nostalgic Chocolate Texas Sheet Cake Bites—a bite-sized take on a Southern favorite. Looking to pair your fudgesicle with something fruity? A dollop of Homemade Blueberry Butter over a warm muffin or bread would be the perfect side. And for handheld summer sweetness, don’t miss the crispy and creamy Fried Strawberry Cheesecake Sandwiches—a unique twist on classic flavors.
Print
Homemade Fudgesicles
- Total Time: 20 minutes (+ freezing time)
- Yield: 7 fudgesicles 1x
- Diet: Vegetarian
Description
These creamy, rich homemade fudgesicles are a nostalgic frozen treat made with simple pantry ingredients. Perfect for summer days or anytime you crave a chocolatey indulgence.
Ingredients
Dry Ingredients
-
1/3 cup unsweetened cocoa powder
-
1/2 cup granulated sugar
-
Pinch of salt
-
2 tablespoons cornstarch
Wet Ingredients
-
2 1/2 cups whole milk
-
1 teaspoon vanilla extract
-
2 tablespoons butter
Instructions
-
Whisk Dry Ingredients
In a medium saucepan, whisk together cocoa powder, sugar, salt, and cornstarch until no lumps remain. -
Add Milk Gradually
Slowly whisk in the milk to create a smooth, lump-free mixture. -
Cook Until Thickened
Place the saucepan over medium heat and stir constantly until the mixture thickens and coats the back of a spoon (about 7–10 minutes). -
Add Butter and Vanilla
Remove from heat and stir in the butter and vanilla until fully melted and smooth. -
Cool Slightly
Allow the mixture to cool for about 10–15 minutes before pouring into molds. -
Pour and Freeze
Pour the mixture into popsicle molds, insert sticks, and freeze for at least 4–6 hours or overnight. -
Unmold and Serve
To release fudgesicles, run warm water over the outside of the molds and gently remove.
Notes
For an ultra-smooth texture, strain the mixture before pouring it into the molds. You can substitute the milk with almond, oat, or coconut milk for a dairy-free option. Add-ins like chocolate chips or nut butters can be swirled in before freezing for extra flavor.
- Prep Time: 10 minutes
- Cook Time: 10 minutes
- Category: Dessert, Snack
- Method: Freeze
- Cuisine: American
Nutrition
- Serving Size: 1 fudgesicle
- Calories: 160
- Sugar: 14g
- Sodium: 55mg
- Fat: 7g
- Saturated Fat: 4g
- Unsaturated Fat: 2g
- Trans Fat: 0g
- Carbohydrates: 21g
- Fiber: 2g
- Protein: 3g
- Cholesterol: 15mg
Keywords: Homemade Fudgesicles, Chocolate Popsicles, Frozen Chocolate Treat, Summer Dessert, Creamy Fudgesicles