Bright, festive, and brimming with sweetness, this Easter Bunny Poke Cake is the ultimate spring dessert that brings joy to every table. With layers of soft white cake soaked in colorful pudding and topped with a dreamy whipped topping and bunny-themed decorations, it’s as fun to make as it is to eat. Whether you’re hosting a brunch, bringing a dish to a family gathering, or simply looking to treat your loved ones, this cake is a showstopper.
Why You’ll Love This Recipe
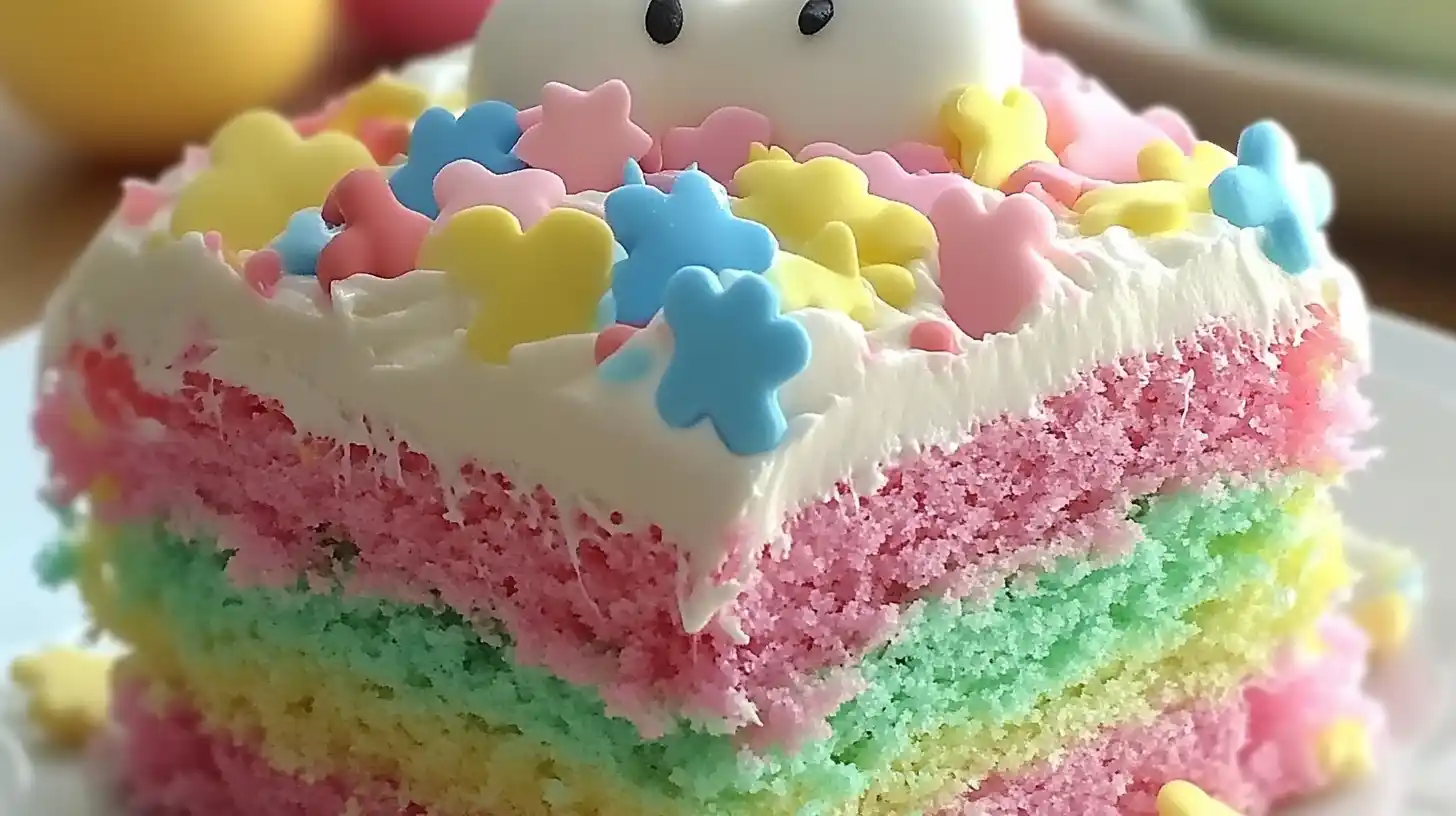
This poke cake is not just delicious—it’s visually delightful! The pastel pudding colors seep into the soft cake creating a marbled rainbow effect inside. The whipped topping keeps it light and fluffy, and the candy bunny décor makes it Easter-ready. It’s make-ahead friendly, super simple, and even more fun when made with kids.
Pure Comfort
Easter Bunny Poke Cake brings all the nostalgia of family celebrations. It’s the kind of sweet treat that reminds you of springtime egg hunts, pastel decorations, and cozy afternoons with loved ones. Moist, cool, and creamy, it’s comfort food with a whimsical twist.
Ingredients
For the Cake
- 1 box white cake mix
- Ingredients as listed on the box (usually water, oil, eggs)
For the Filling
- 1 package (3.4 oz) instant vanilla pudding
- 1 package (3.4 oz) instant strawberry pudding
- 4 cups milk (2 cups per pudding)
- Gel food coloring (pink, blue, yellow, green)
For the Topping
- 1 container (8 oz) whipped topping, thawed
- Easter sprinkles
- Bunny marshmallows, candies, or peeps
- Shredded coconut (optional, dyed green to look like grass)
What You Need
- 9×13-inch baking dish
- Wooden spoon or skewer (for poking holes)
- Mixing bowls
- Electric mixer (optional)
- Rubber spatula
Time to Cook
Prep Time: 20 minutes
Bake Time: 25-30 minutes
Chill Time: 2 hours (minimum)
Total Time: About 3 hours (including chilling)
Steps to Make It
- Bake the Cake
Prepare the white cake mix according to package instructions and pour it into a greased 9×13 baking dish. Bake as directed and let it cool slightly. - Poke the Cake
Once the cake is just warm (not hot), use the handle of a wooden spoon to poke holes all over the top, about an inch apart. - Make the Pudding Colors
Prepare both pudding mixes separately, each with 2 cups of cold milk. Divide each pudding into two bowls and tint with different gel food coloring to make four pastel puddings. - Add the Pudding
Spoon the colored puddings into the holes, alternating colors for a marbled effect. Use a spatula to gently spread any excess over the surface. - Chill the Cake
Cover and refrigerate the cake for at least 2 hours to allow the pudding to set. - Top It Off
Once chilled, spread the whipped topping over the entire cake. - Decorate
Sprinkle with Easter decorations, arrange bunny candies, and add green coconut “grass” for a festive finish.
Make It Perfect
Use gel food coloring for the brightest pastel shades without watering down the pudding. Be sure to poke the holes deep enough so pudding soaks into the cake and gives it that signature poke cake texture.
Mix It Up
Want more flavor? Use different pudding flavors like lemon, pistachio, or banana. Want a chocolate version? Swap in chocolate cake mix and chocolate pudding, then decorate with mini eggs and bunnies.
Perfect Partners
Serve this cake with a scoop of vanilla ice cream, a glass of milk, or a spring-themed mimosa. It pairs beautifully with fresh fruit salads or a light citrusy dessert like lemon bars.
Busy Day Hero
Make it the night before your Easter celebration and chill it overnight. The pudding sets perfectly and the cake becomes even more flavorful.
Work Ahead
Bake the cake and poke the holes a day in advance, then add pudding and topping the next day. You can even pre-color the pudding and store it in airtight containers.
Save Some For Later
Store leftovers in the refrigerator, covered tightly with foil or plastic wrap. It will stay fresh for up to 4 days. Avoid freezing, as the pudding texture may change.
Everyone’s Happy
Kids will love decorating the cake and seeing the colorful inside. Adults will appreciate the not-too-sweet, nostalgic flavor. It’s truly a crowd-pleaser.
Good For You Too
While not a health food, you can make lighter choices by using sugar-free pudding, light whipped topping, and egg whites in the cake mix.
Easy Clean Up
This recipe uses one pan and a few bowls, making cleanup a breeze. Using boxed cake mix and instant pudding means fewer ingredients and less mess.
Switch It Up
Make cupcakes instead! Bake the cake in cupcake tins and fill each cupcake with pudding using a piping bag. Decorate the tops just the same—adorable and portable.
Simply Perfect
It’s festive, flavorful, and foolproof. Easter Bunny Poke Cake is the dessert that brings smiles and celebration without the stress.
FAQs
1. Can I use homemade cake instead of boxed mix?
Yes! A homemade white cake works beautifully. Just make sure it’s a light and fluffy texture to absorb the pudding well.
2. How far in advance can I make this?
You can make it up to 2 days ahead. Just keep it refrigerated and wait to add decorations until just before serving.
3. Can I freeze Easter Bunny Poke Cake?
It’s not recommended. The pudding and whipped topping don’t freeze well and may alter in texture once thawed.
4. What other toppings can I use?
Try crushed cookies, jelly beans, mini chocolate eggs, or edible glitter for even more pizzazz.
5. How do I dye coconut for the grass effect?
Add a few drops of green food coloring to shredded coconut in a bag, shake until evenly colored, and sprinkle on top.
6. Can I use non-dairy milk for the pudding?
Most plant-based milks won’t set the pudding properly. Stick with dairy milk or check the package instructions for substitutions.
7. What if I don’t have gel food coloring?
Liquid food coloring will work, but go easy—it may water down the pudding. Start with one drop and adjust gradually.
Conclusion
Easter Bunny Poke Cake is everything you want in a holiday dessert: simple, colorful, joyful, and delicious. Whether you’re sharing it with family or bringing it to a festive event, it’s guaranteed to be a hit. Don’t be surprised when people ask for the recipe—it’s just that good!
More Easter-Inspired & Sweet Celebration Treats
If this Easter Bunny Poke Cake brought a burst of joy to your dessert table, keep the celebration going with even more delightful treats! Add another adorable bake to the mix with these soft and playful Fluffy Bunny Buns—perfect for Easter brunch. For a fruity twist, try the refreshing and zesty Dreamy Orange Creamsicle Pie, a chilled treat that’s a fan favorite. If you’re looking for easy, colorful cookies, the Easter Jello Cookies are festive, chewy, and great for gifting. Sip something sweet and cheerful with the family-friendly Easter Bunny Punch—a bubbly hit for all ages. And don’t forget to fill those baskets with the delightful Rice Krispie Easter Eggs—a no-bake snack that’s as fun to make as it is to eat.
Print
Easter Bunny Poke Cake
- Total Time: 3 hours
- Yield: 12 servings 1x
- Diet: Vegetarian
Description
This Easter Bunny Poke Cake is a vibrant and festive dessert filled with colorful pudding and topped with whipped cream and bunny-themed decorations—perfect for spring celebrations.
Ingredients
For the Cake
-
1 box white cake mix
-
Ingredients as listed on the box (typically water, eggs, oil)
For the Filling
-
1 package (3.4 oz) instant vanilla pudding
-
1 package (3.4 oz) instant strawberry pudding
-
4 cups cold milk
-
Gel food coloring (pink, blue, yellow, green)
For the Topping
-
1 container (8 oz) whipped topping, thawed
-
Easter sprinkles
-
Bunny marshmallows, candies, or peeps
-
Shredded coconut (optional, dyed green)
Instructions
-
Bake the Cake
Preheat the oven and prepare the white cake mix according to the box instructions. Pour into a greased 9×13 baking dish and bake. Let the cake cool slightly after baking. -
Poke the Cake
Using the handle of a wooden spoon, poke holes across the cake while it’s still warm, spacing them about 1 inch apart. -
Prepare the Pudding
Mix each pudding flavor with 2 cups of cold milk. Divide each pudding into two bowls and tint each with different pastel gel colors for a total of four. -
Fill the Cake
Spoon the colored pudding into the holes, alternating colors to create a fun marbled effect. Smooth over any excess on top. -
Chill the Cake
Refrigerate the cake for at least 2 hours so the pudding sets properly and infuses the cake. -
Top with Whipped Cream
After chilling, spread the whipped topping evenly across the top of the cake. -
Decorate
Add festive Easter sprinkles, bunny-themed candies, and optional green-tinted coconut for a grassy look. Serve chilled.
Notes
Make sure to use gel food coloring to achieve vibrant colors without thinning the pudding. Let the cake chill fully before adding toppings for best texture. Store any leftovers covered in the fridge for up to 4 days.
- Prep Time: 20 minutes
- Cook Time: 30 minutes
- Category: Dessert, Easter
- Method: Baked, No-Bake
- Cuisine: American
Nutrition
- Serving Size: 1 slice
- Calories: 320
- Sugar: 28g
- Sodium: 340mg
- Fat: 12g
- Saturated Fat: 6g
- Unsaturated Fat: 5g
- Trans Fat: 0g
- Carbohydrates: 48g
- Fiber: 1g
- Protein: 4g
- Cholesterol: 35mg
Keywords: Easter Bunny Poke Cake, Poke Cake Recipe, Easter Dessert, Colorful Pudding Cake, Bunny Cake, Spring Dessert