Authentic Basil Pesto Recipe
- Time: Active 10 minutes, Passive 0 minutes, Total 10 minutes
- Flavor/Texture Hook: Peppery, aromatic basil meets a creamy, nutty finish
- Perfect for: Quick weeknight dinners or meal prep enthusiasts
- Creating the Ultimate Vibrant Green Pesto Recipe
- Why This Cold Emulsion Technique Works
- Quick Specs for Fresh Versus Shortcut Pesto
- Gathering Your Essentials and Ingredient Deep Dive
- Essential Equipment for Professional Texture Results
- The Step-By-Step Cooking Process and Method
- How to Fix Common Pesto Texture Problems
- Creative Twists and Savvy Ingredient Swaps
- Freezing and Reheating Guide for Long Storage
- How to Serve and Enjoy Your Sauce
- Recipe FAQs
- 📝 Recipe Card
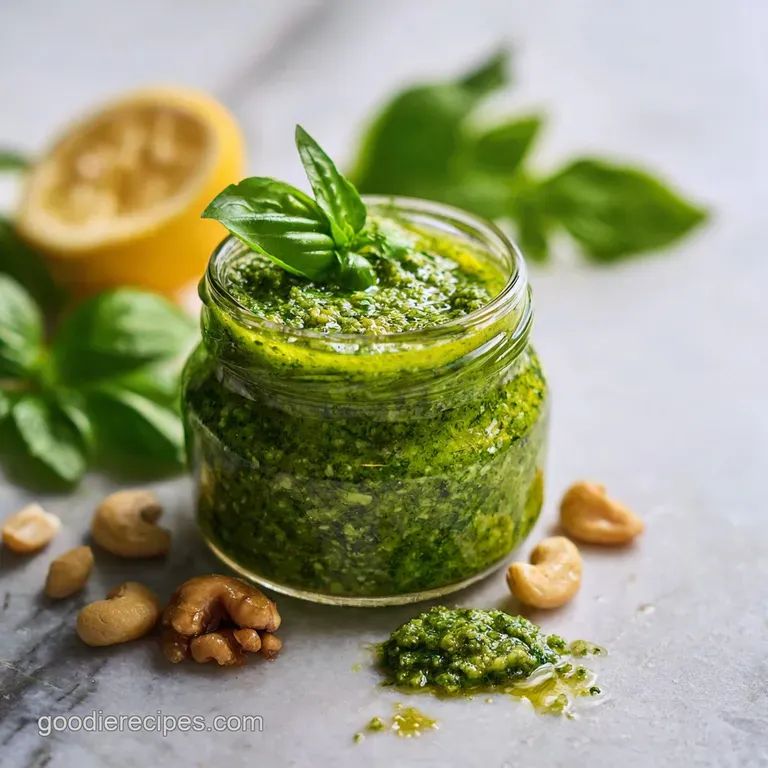
Creating the Ultimate Vibrant Green Pesto Recipe
Walking into my kitchen during basil season is a sensory overload. The moment those 60g of fresh leaves hit the counter, the air fills with that unmistakable peppery, anise like perfume that reminds me of summer afternoons at my grandmother's table.
I used to think making this was as simple as throwing everything into a blender and hitting "high," but I quickly learned that heat is the enemy of a great sauce. My first attempt turned a sad, muddy grey within minutes because the blades got too hot and cooked the delicate herbs.
We’ve all been there, right? You spend a fortune on high-quality olive oil and aged cheese, only to end up with a bitter mess. But that’s why I’m texting you this today. After years of trial and error, I found the secret to keeping that neon green glow and that punchy, fresh flavor.
It’s all about the sequence of events and a few budget friendly tricks that don't sacrifice the "wow" factor. This is more than just a sauce; it’s a family classic that has saved my weeknight dinners more times than I can count.
Trust me, once you taste the difference between the store-bought jar and this homemade version, there is no going back. We are talking about a silky, punchy topping that makes even a simple plate of pasta feel like a celebration.
I’ve refined this to be as practical as possible, ensuring you get the best results without needing a massive budget for specialty ingredients. Let's get into the specifics of why this method actually holds up.
Why This Cold Emulsion Technique Works
- Thermal Protection: Using cold pressed oil and pulsing the equipment prevents heat friction from oxidizing the basil’s volatile oils.
- Lipid Stabilization: The fats in the 45g of pine nuts and 120ml of oil create a protective coating around the herb particles.
- Enzymatic Deactivation: The acidic and salty environment created by the cheese and salt slows down the browning enzymes (polyphenol oxidase).
- Texture Stratification: Adding ingredients in a specific order ensures the garlic and nuts are pulverized while the basil stays in tiny, leafy "shards."
The Chemistry of Chlorophyll Protection
To keep the sauce bright, we must prevent the magnesium atom at the center of the chlorophyll molecule from being replaced by hydrogen. This happens when the basil is exposed to heat or high acidity for too long, which is why we pulse briefly and serve immediately.
| Fresh Version | Shortcut Version | Flavor Impact | Savings |
|---|---|---|---|
| Pine Nuts (1/3 cup) | Walnuts (1/3 cup) | Slightly more earthy and tannic | Save $4.00 |
| Parmigiano Reggiano | Pre grated Parmesan | Grittier texture, less sharp | Save $3.00 |
| Fresh Basil | Half Spinach/Half Basil | Milder, less peppery profile | Save $2.00 |
Actually, if you are looking for other ways to use up garden fresh produce on a budget, you might love my Zucchini Fritters recipe which uses a similar "squeeze and dry" technique to keep things crispy.
Quick Specs for Fresh Versus Shortcut Pesto
Understanding the trade offs in your kitchen is the first step toward becoming a better cook. While the authentic version is unmatched, sometimes our wallets or our pantries require a bit of flexibility.
I’ve found that even with these budget friendly swaps, you can achieve a result that is leagues ahead of anything in a can.
| Feature | Hand Crushed (Mortar) | Food Processor (Modern) | Impact on Results |
|---|---|---|---|
| Texture | Rustic, chunky, and oily | Smooth, velvety, and uniform | Mortar releases more oils; processor is faster. |
| Preparation Time | 20 minutes | 10 minutes | Mechanical speed saves time but adds heat. |
| Flavor Release | Maximum aromatic intensity | Good, but slightly muted | Crushing breaks cells more effectively than cutting. |
Adding 1/2 cup (120ml) of Extra Virgin Olive Oil slowly is the non negotiable part. Whether you are using the most expensive bottle or a reliable supermarket brand, the oil acts as the carrier for all those aromatic compounds.
If you rush the pour, the sauce will split, leaving you with a puddle of oil and a clump of herbs.
Gathering Your Essentials and Ingredient Deep Dive
The magic happens when these specific elements collide. I always recommend using a cold pressed oil because it hasn't been treated with high heat, meaning it retains that grassy, slightly bitter finish that balances the richness of the 50g of Parmigiano Reggiano.
| Ingredient | Science Role | Pro Secret |
|---|---|---|
| Fresh Basil (60g) | Aromatic base | Wash in ice water to tighten the cell walls before using. |
| Pine Nuts (45g) | Creamy fat source | Toast them until they just start to sizzle for a deeper umami. |
| Garlic (2 cloves) | Pungent backbone | Smash them first to activate the allicin for a sharper bite. |
| Sea Salt (1/4 tsp) | Abrasive & enhancer | The grains act as a "sandpaper" to help break down the basil leaves. |
- - 2 cups (60g) Fresh Basil Leaves
- Packed tightly, with all tough stems removed to avoid a "woody" taste. Why this? Essential for that classic peppery, anise like aromatic profile.
- - 2 large Garlic Cloves
- Peeled and smashed. Why this? Provides the sharp, pungent foundation that balances the fat.
- - 1/3 cup (45g) Pine Nuts
- These provide the creaminess. Why this? High oil content creates a silky mouthfeel without being heavy.
- - 1/2 cup (50g) Parmigiano Reggiano
- Freshly grated is a must. Why this? Adds the salty, nutty punch that defines the sauce.
- - 2 tbsp (15g) Pecorino Romano
- Freshly grated. Why this? Adds a sharp, sheep's milk tang that standard Parmesan lacks.
- - 1/2 cup (120ml) Extra Virgin Olive Oil
- Cold pressed for the best flavor. Why this? Acts as the emulsifying agent and flavor carrier.
- - 1/4 tsp Sea Salt
- To taste. Why this? Enhances all flavors and helps the mechanical breakdown.
- - 1/8 tsp Freshly cracked black pepper
- For a hint of heat. Why this? Cuts through the richness of the cheeses and oil.
Essential Equipment for Professional Texture Results
You don't need a high end laboratory to make a great sauce, but your choice of tools dictates the final character. For a more traditional, "broken" sauce where you can see the individual components, a large marble mortar and pestle is the way to go.
It’s a workout, but the flavor is incredible because you are bruising the herbs rather than slicing them.
If you are in a hurry (which, let's be honest, is most of us), a food processor is your best friend. Just remember my tip about the heat if you can, pop the processor bowl and blade in the freezer for 10 minutes before you start.
This small step prevents the mechanical friction from warming up the oil and wilting the basil prematurely.
Finally,, make sure you have a fine grater, like a microplane. When you grate the 50g of Parmigiano Reggiano yourself, it’s much fluffier and integrates into the oil far better than the pre packaged stuff which is often coated in potato starch to prevent clumping.
That starch will make your sauce gummy, and we want it velvety.
The step-by-step Cooking Process and Method
- Toast the nuts. Place the 45g of pine nuts in a dry pan over medium heat for 3 minutes until they smell nutty and start to sizzle. Note: Watch them like a hawk; they go from golden to burnt in seconds.
- Prep the garlic. Smash the 2 garlic cloves with the flat of your knife and add them to the processor with the 1/4 tsp sea salt. Note: The salt helps the garlic turn into a smooth paste quickly.
- Pulse the aromatics. Add the toasted pine nuts to the garlic and salt, pulsing 5 times until you see a coarse, sand like texture.
- Prepare the basil. Add the 60g of fresh basil leaves to the mixture. Note: Do not over pack the bowl; give the leaves room to move.
- Initial breakdown. Pulse the basil another 5-7 times until the leaves are finely chopped but not yet a paste.
- Integrate the cheese. Add the 50g of Parmigiano Reggiano and 15g of Pecorino Romano. Note: Adding cheese now helps stabilize the emulsion we are about to create.
- Emulsify the oil. With the processor on low, slowly stream in the 120ml of Extra Virgin Olive Oil. Note: Go slow this is how you get that velvety finish.
- Final seasoning. Add the 1/8 tsp black pepper and pulse one last time until the sauce is glossy and cohesive.
- Check consistency. If it's too thick, add one more tablespoon of oil; if too thin, add a pinch more cheese.
- Serve immediately. Transfer to a bowl or toss directly with warm pasta for the best flavor.
Chef's Note: If you're tossing this with pasta, always reserve a 1/4 cup of the starchy pasta water. Mixing a splash of that water with your sauce in a bowl creates a creamy "bridge" that helps the sauce cling to every noodle.
How to Fix Common Pesto Texture Problems
Even with the best intentions, things can go sideways. The most common heartbreak is when the sauce turns a dull brown. This is usually due to oxidation the same thing that happens to an apple when you leave it out.
Another issue is bitterness, which can happen if you over process high-quality extra virgin olive oil, releasing bitter polyphenols.
Why Your Sauce Looks Dull
The vibrant green color comes from chlorophyll. When you chop the leaves, you expose them to oxygen. If you aren't serving it right away, a thin layer of olive oil on top of the jar acts as a physical barrier against the air, keeping the green locked in.
| Problem | Root Cause | Solution |
|---|---|---|
| Bitter Aftertaste | Over processed olive oil | Pulse less or stir the oil in by hand at the very end. |
| Gummy Consistency | Pre grated cheese with starch | Only use freshly grated cheese for a clean melt. |
| Separated/Oily | Oil added too quickly | Whisk in a teaspoon of warm water to help re emulsify. |
Common Mistakes Checklist
- ✓ Don't process the basil while it's still wet from washing (leads to a watery sauce).
- ✓ Never use a high speed blender for more than 30 seconds to avoid heating the oil.
- ✓ Avoid using the bitter basil stems; they add a "grassy" and tough texture.
- ✓ Ensure the garlic is fully smashed before adding the herbs so you don't get large, raw chunks.
- ✓ Always taste for salt at the end, as Pecorino is naturally very salty.
Creative Twists and Savvy Ingredient Swaps
If pine nuts are out of your budget this week, don't sweat it. I often use walnuts or even sunflower seeds. While the flavor shifts walnuts are a bit more tannic it’s still incredibly satisfying.
If you want a "superfood" boost, swapping half the basil for baby spinach is a great way to save money and add iron without significantly altering the taste.
For a nut free version, toasted pumpkin seeds (pepitas) are an absolute winner. They keep that crunch and fat content but are school safe for the kids' lunchboxes. If you want to go vegan, replace the cheeses with 3 tablespoons of nutritional yeast and an extra pinch of salt.
It won't have the same "melt," but the savory depth is surprisingly close.
If you are looking for more budget friendly, nutrient dense meals, you should check out my Healthy Homemade Roasted recipe for chickpeas. They make a fantastic crunchy topper for a pesto coated grain bowl!
Scaling Guidelines: - To Double (12 servings): Double everything except the garlic and salt. Use 3 large cloves of garlic and 1/2 tsp salt initially, then taste. Spices and pungency can become overwhelming when doubled exactly.
- To Half (3 servings): Use a small food processor or a mortar. If using a large processor, the blades might not catch the ingredients effectively.
Freezing and Reheating Guide for Long Storage
This sauce is a meal prep hero. It stays fresh in the fridge for about 5 days if you keep it in an airtight container with a "seal" of olive oil on top. If you see it start to darken, just stir it; the flavor is usually still fine for a few days even if the color fades slightly.
For freezing, I love the "ice cube tray" method. Spoon the sauce into the trays and freeze until solid. Once frozen, pop the cubes into a freezer bag. They’ll stay good for up to 6 months! It’s the perfect way to add a burst of summer to a winter soup or stew.
- - Never Microwave
- High heat will "cook" the basil and ruin the flavor.
- - Thaw Gently
- Let the cubes sit at room temperature for an hour.
- - Pasta Method
- If using with pasta, the heat from the noodles is enough to melt the sauce. Do not put the sauce in a pan over a flame.
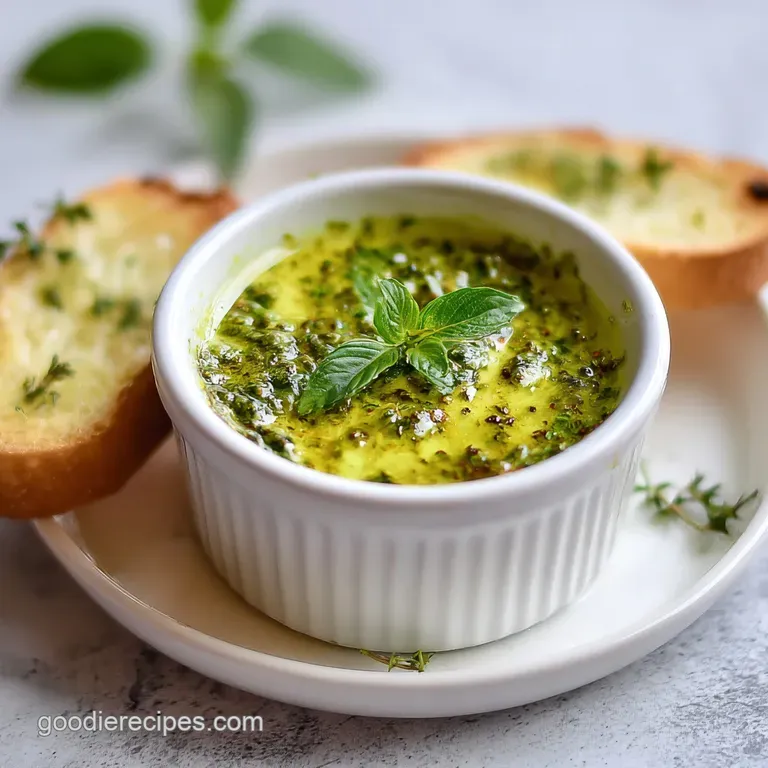
How to Serve and Enjoy Your Sauce
While pesto pasta is the gold standard, don't let your imagination stop there. I love using this as a marinade for chicken or as a base for a "gourmet" grilled cheese sandwich.
A thin layer spread over a piece of toasted sourdough, topped with a poached egg, is my favorite way to start a Saturday morning.
It also makes a brilliant dip. Mix a few tablespoons into some Greek yogurt or sour cream for a vibrant veggie dip that will disappear in minutes at any party. Because it's so concentrated, a little goes a long way, making it one of the most cost effective ways to add massive flavor to basic ingredients.
If you're hosting a bigger dinner, try drizzling this over roasted vegetables. The acidity in the cheese and the richness of the oil perfectly balance the sweetness of roasted carrots or potatoes. It's a versatile tool in any cook's kit, and I can't wait for you to make it your own. Happy cooking!

Recipe FAQs
What are the ingredients in pesto sauce?
Fresh basil, pine nuts, garlic, Parmigiano Reggiano, Pecorino Romano, extra virgin olive oil, salt, and pepper. These fresh components must be combined without heat to preserve the vibrant green color and intense aroma.
What is pesto traditionally made of?
Basil, pine nuts, hard cheese, garlic, and olive oil. The traditional method involves crushing these ingredients in a marble mortar and pestle, which bruises the herbs to release maximum aromatic oils.
What are common pesto mistakes?
Over processing the ingredients, using warm equipment, or skipping the salt. Excessive processing generates heat, which oxidizes the basil causing it to turn brown and dull.
What is a good substitute for pine nuts in pesto?
Walnuts or toasted sunflower seeds make excellent substitutes. Walnuts offer a slightly more earthy flavor, similar to the background notes you might find in a savory Slow Cooker Buffalo recipe, while sunflower seeds are a great nut-free option.
How do I keep my homemade pesto bright green?
Chill your equipment and process the basil quickly in short pulses. The friction from the blades creates heat, which destroys the chlorophyll; keeping the bowl and blade cold helps prevent this thermal damage.
Can I use different greens instead of basil?
Yes, you can blend in mild greens like spinach for bulk and color stability. Substituting half the basil with spinach, as detailed in our variations chart, mellows the flavor but adds volume and is a great way to economize on fresh herbs.
Is it true that I must add the cheese last?
Yes, it is highly recommended to add the cheeses after the herbs and nuts are mostly broken down. Adding the hard cheeses too early can interfere with the texture, leading to a grittier final sauce rather than a smooth, velvety emulsion.
Classic Basil Pesto Recipe

Ingredients:
Instructions:
Nutrition Facts:
| Calories | 259 kcal |
|---|---|
| Protein | 4.4 g |
| Fat | 26.6 g |
| Carbs | 2.1 g |
| Fiber | 0.6 g |
| Sugar | 0.2 g |
| Sodium | 198 mg |
