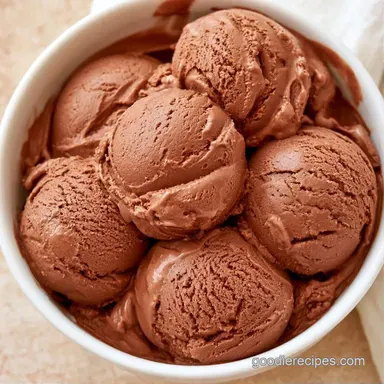
Chocolate Ice Cream: No-Custard Shortcut
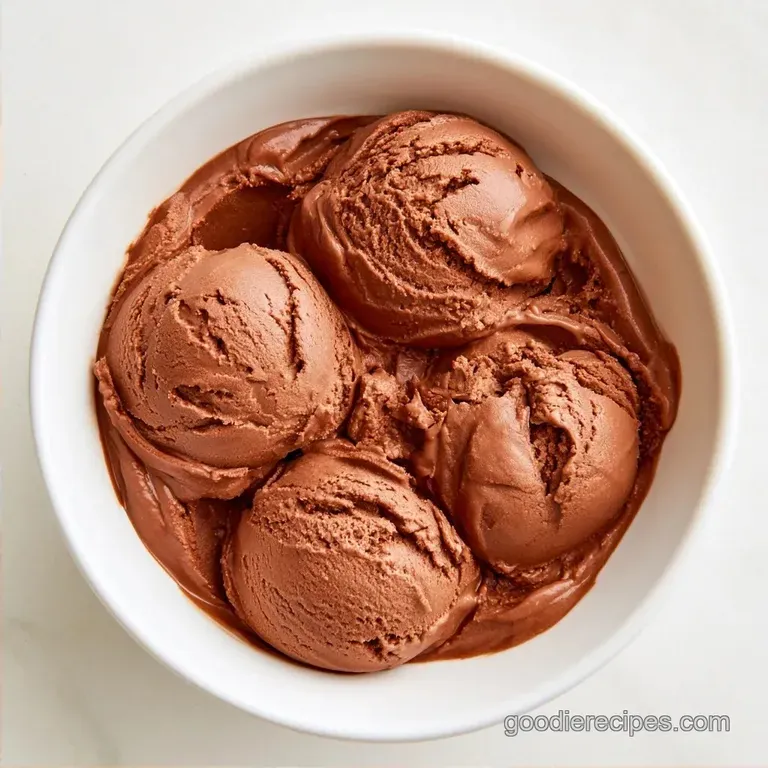
- Time: 10 min active + 6 hours 10 mins chilling
- Flavor/Texture Hook: Dense and creamy with deep cocoa notes
- Perfect for: Family dessert nights or summer treats
The smell of cocoa powder hitting hot milk is one of my favorite things in the kitchen. It’s that warm, nostalgic aroma that tells everyone in the house that something good is happening. I started making this for my kids on Friday nights, and it's become our little tradition.
We wanted something that felt special but didn't require me to stand over a stove for an hour tempering egg yolks. Most store-bought options are too airy, but this Chocolate Ice Cream hits that heavy, fudgy spot you crave.
It's a budget friendly approach that uses basic pantry staples to get a high end result. You don't need a fancy setup, though a machine helps if you have one.
Quick Recipe Specs
This version focuses on a simple process. We bloom the cocoa first, which is the real trick to getting that dark, intense flavor without adding tons of extra sugar. It keeps the costs down while keeping the quality high.
Whether you're using a churner or just a metal pan in the freezer, the result stays consistent. It's a classic comfort food that doesn't break the bank.
The Core Ingredients
I've found that using a mix of cocoa powder and melted chocolate chips gives the best structure. The powder provides the punch, and the chips add a rich, fatty mouthfeel that prevents the mix from tasting like frozen milk.
| Ingredient | What It Does | Best Swap |
|---|---|---|
| Cocoa Powder | Provides deep chocolate flavor | Dutch processed cocoa for a darker tone |
| Heavy Cream | Adds fat for creaminess | Full fat coconut cream for dairy-free |
| Whole Milk | Balances the fat ratio | Evaporated milk for a denser feel |
| Chocolate Chips | Stabilizes and richens | Chopped dark chocolate bars |
Essential Kitchen Tools
You can easily achieve these results with standard home equipment. All you really need are a whisk and a basic saucepan. For an ultra smooth consistency, an immersion blender is recommended, though a hand whisk is a fine alternative if you don't mind the manual effort.
If you're skipping the machine, use a shallow metal pan. Metal conducts cold more efficiently than plastic, which ensures the Chocolate Ice Cream freezes more quickly and uniformly.
The Making Process
Blooming the Cocoa
Combine the cocoa powder, sugar, whole milk, and salt in a medium saucepan over medium heat. Whisk constantly for 5-7 minutes until the mixture is smooth and begins to simmer. This process awakens the cocoa's flavor. Remove the pan from the heat and let it cool to room temperature.
Emulsifying the Base
Pour the cooled chocolate mixture into a large bowl. Slowly whisk in the vanilla extract and chilled heavy whipping cream. While whisking vigorously, stream in the melted chocolate chips. To ensure the fat and cocoa are fully bonded for a velvety finish, use an immersion blender for 30 seconds.
The Final Freeze
If using a machine, pour the base into your churner and process for 20-25 minutes until it reaches a soft serve consistency.
Without a machine, pour the mix into a shallow metal pan and place it in the freezer. Whisk it vigorously every 30 minutes during the first 3 hours; this prevents ice crystals from forming and keeps the texture smooth.
Why This Mix Works
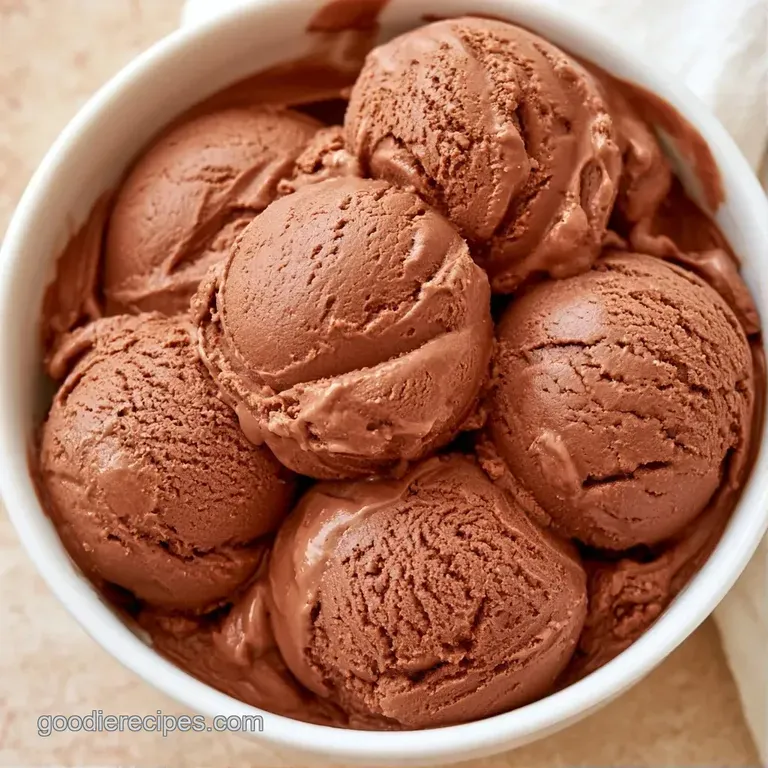
Cocoa Blooming: Heating the cocoa in milk hydrates the solids, which stops the ice cream from feeling sandy on your tongue.
Fat Ratios: The combination of heavy cream and melted chocolate creates a stable emulsion. This keeps the air bubbles small, resulting in a dense, luscious texture. If you love this kind of chocolate depth, you'll probably love my moist homemade chocolate cake too.
Pro Tips and Pitfalls
Achieving the perfect consistency is often the hardest part of homemade frozen desserts. Large ice crystals usually appear if the fat content is too low or the freezing happens too slowly. Avoid using low-fat milk for this particular treat, as it simply won't provide the right texture.
Another frequent problem is a mixture that becomes too thick to churn. This is usually the result of letting melted chocolate chips cool too much before adding them. Keep the chips warm, but not hot, as you stream them in.
Resolving Icy Crystals
This occurs when water crystallizes into large pieces. To speed up the freezing process, use a shallow pan to maximize the surface area.
Preventing a Grainy Texture
A sandy feel usually results from cocoa or sugar that hasn't fully dissolved. Ensure the milk mixture simmers for several minutes before removing it from the heat.
Correcting a Runny Consistency
If the treat refuses to firm up, there may be too much liquid. While additional freezing time usually helps, you can also stir in a heated tablespoon of cornstarch slurry to thicken the base.
| Problem | Root Cause | Solution |
|---|---|---|
| Icy shards | Slow freezing / low fat | Use a metal pan; use full fat cream |
| Sandy feel | Cocoa not bloomed | Simmer milk and cocoa for 5-7 mins |
| Doesn't set | Too much liquid | Freeze longer or add more chocolate chips |
Storage and Freezing
Store your Chocolate Ice Cream in a freezer safe container. I always press a piece of parchment paper directly onto the surface of the ice cream before closing the lid. This prevents freezer burn from forming on the top layer.
It stays great in the freezer for about 2 months. If it gets too hard, let it sit on the counter for 5-10 minutes before scooping. For zero waste, if you have a bit of leftover chocolate base that didn't freeze, stir it into oatmeal or use it as a rich syrup for pancakes.
Mix ins and Swaps
Feel free to customize this recipe based on what you have on hand. For a deeper, richer taste, swap semi sweet chips for 70% dark chocolate.
| Original Ingredient | Substitute | Why It Works |
|---|---|---|
| Granulated Sugar | Maple Syrup | Provides a woody sweetness. Note: Makes the mix slightly thinner |
| Whole Milk | Almond Milk | A dairy-free alternative. Note: Less creamy, may freeze harder |
| Vanilla Extract | Almond Extract | Creates a nutty, cherry like aroma |
For a more budget friendly approach, you can simplify this into a 2-ingredient chocolate ice cream using cocoa and condensed milk, though the flavor won't be as complex as the bloomed version.
Decision Shortcut
| Goal | What to change |
|---|---|
| More intense cocoa | Use Dutch processed cocoa |
| Lower sweetness | Increase chocolate chip % |
| Lighter texture | Whip the cream separately first |
Perfect Pairing Ideas
Because this dessert is so rich, I like to pair it with something that cuts through the decadence. Sliced strawberries or fresh raspberries provide a bright acidity that balances the chocolate perfectly.
For a truly indulgent experience, serve a scoop alongside a piece of classic baked cheesecake. The tanginess of the cream cheese complements the intense cocoa. You could also pour a shot of espresso over it for an easy affogato.
And there you have it professional grade Chocolate Ice Cream made at home without spending a fortune or all day in the kitchen. Just remember to bloom your cocoa, and you're all set.
Recipe FAQs
How to make easy chocolate ice cream?
Simmer milk, sugar, cocoa, and salt for several minutes until the mixture is smooth. Mix in chilled cream and melted chocolate, then use an immersion blender for 30 seconds to bond the ingredients.
What is a 3-ingredient version?
Combine the cocoa, sugar, and heavy cream from this list for a basic base. The addition of vanilla and melted chocolate in the full recipe is what provides a professional depth of flavor.
Which ice cream is the easiest to prepare?
This no-churn chocolate version is the most accessible. It requires only basic pantry staples and a freezer rather than expensive specialized equipment.
Make this without a machine?
Pour the mixture into a shallow metal pan and place it in the freezer. Whisk the base vigorously every 30 minutes for the first 3 hours to break up ice crystals.
Does this recipe use eggs?
This version is completely egg-free. The combination of melted chocolate and heavy cream creates a rich, velvety texture without needing a custard base.
Why does freezer burn happen?
Air reaches the surface of the ice cream and creates ice crystals over time. Press a piece of parchment paper directly onto the surface before closing the lid to block the air.
Is it true you need a churner for smoothness?
False. An immersion blender bonds the fats and cocoa perfectly. This ensures a creamy mouthfeel even without a machine.
Suggest a topping for this.
Drizzle the scoops with brown butter caramel for a nutty contrast. This pairing balances the deep cocoa notes with a salty sweetness.
Creamy Chocolate Ice Cream