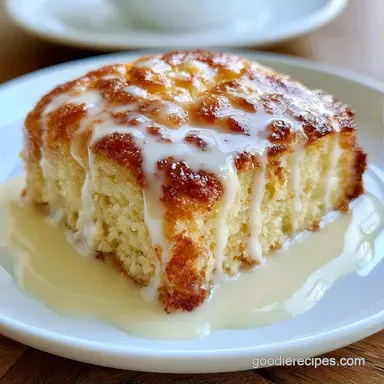
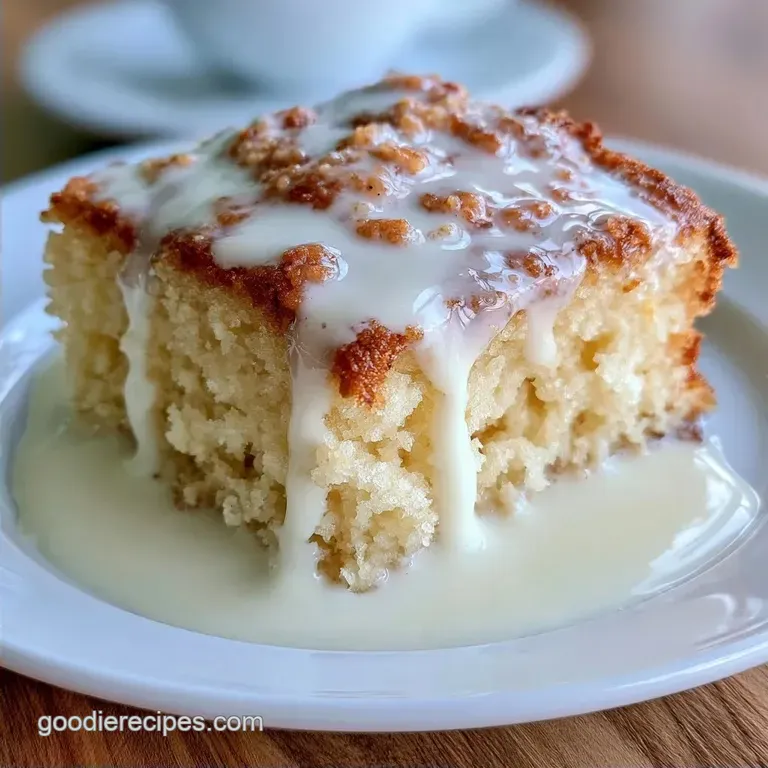
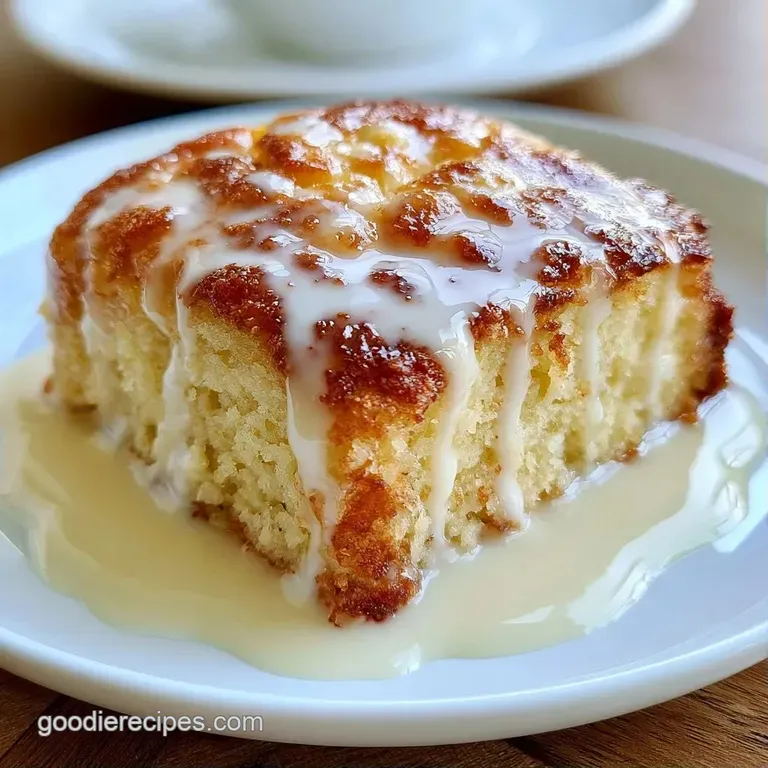
Moist Milk Poke Cake with Condensed Milk
- Time: 15 min active + 4 hr 45 min total (includes chilling)
- Flavor/Texture Hook: Heavy, creamy saturation with a light whipped finish
- Perfect for: Family potlucks, budget-friendly celebrations, or Sunday dinners
- Making the Best Moist Milk Poke Cake
- The Trick to the Soak
- What Each Ingredient Does
- Tools You Will Need
- Putting the Cake Together
- Fixing Texture and Topping
- Twists and Variations
- Scaling Your Moist Milk Poke Cake
- Debunking Cake Myths
- Storage and Waste Tips
- Best Serving Ideas
- Recipe FAQs
- 📝 Recipe Card
The smell of warm vanilla and baked sugar fills the kitchen the second that pan comes out of the oven. It's that cozy, nostalgic aroma that reminds me of my grandmother's house, where dessert wasn't about being fancy, but about being comforting.
I used to struggle with cakes that felt too dry, especially when using a boxed mix. I tried adding extra oil or eggs, but the cake just felt greasy. Then I tried the poking method, and it changed everything.
Making a Moist Milk Poke Cake is about creating a sponge that acts like a sponge. You're not just frosting a cake; you're hydrating it from the inside out to get that dense, pudding like consistency.
Making the Best Moist Milk Poke Cake
Right then, let's get into the details. The most important part here is the timing. You have to poke those holes while the cake is still steaming. If you wait until it cools, the crumb sets, and the milk just sits on top like a puddle instead of soaking in.
I've found that using a mix of condensed and evaporated milk provides a weight that water or plain milk can't match. It gives the cake a rich, milky depth that tastes like a homemade custard. Honestly, don't even bother with low-fat milk here, as the fat is what carries the vanilla flavor.
This is a budget friendly approach to a high impact dessert. By using a quality cake mix and focusing on the soak, you get a result that tastes like it took hours of labor. Trust me, your family won't care that it started from a box when they see how juicy the slices are.
The Trick to the Soak
The reason this works comes down to how the cake structure reacts to temperature and liquid.
- Heat Access: A hot cake has open pores and active steam, which helps the liquid travel further down into the base.
- Liquid Viscosity: According to [Serious Eats](https://www.seriouseats.com), the density of the liquids affects how they penetrate a starch network. The combined milks are thick enough to stay put but fluid enough to fill every hole.
| Feature | Fresh Whipped Cream | Stabilized Topping |
|---|---|---|
| Texture | Light and airy | Dense and stiff |
| Taste | Clean, milky | Very sweet |
| Hold Time | 4-6 hours | 2-3 days |
| Best For | Immediate serving | make-ahead events |
What Each Ingredient Does
Choosing the right components ensures the cake doesn't collapse under the weight of the milk.
| Ingredient | What It Does | Best Swap |
|---|---|---|
| Cake Mix | Provides the structural base | Scratch vanilla sponge |
| Condensed Milk | Adds sweetness and "weight" | Evaporated milk + extra sugar |
| Evaporated Milk | Thins the soak for better flow | Whole milk (less rich) |
| Heavy Cream | Creates a light, airy contrast | Coconut cream (for dairy-free) |
Tools You Will Need
You don't need a professional kitchen for this, just a few basics. A 9x13 inch baking pan is mandatory, as the depth is key for the soak. I prefer using a wooden skewer or a wide plastic straw for the poking, as it creates a consistent hole size.
For the topping, a hand mixer or a stand mixer such as KitchenAid works best to get those stiff peaks. If you're doing it by hand, get ready for a workout. A simple offset spatula helps spread the cream without pulling the cake apart.
For the best results, follow King Arthur Baking's tips for greasing your pan to ensure the cake releases cleanly without any sticking.
Putting the Cake Together
Follow these steps closely. The sequence is what prevents a soggy mess and ensures a clean slice.
Phase 1: Baking the Base
- Preheat oven to 350°F (175°C) and grease a 9x13 inch baking pan.
- Combine cake mix, water, oil, and eggs. Beat until the batter is smooth.
- Pour batter into the pan and bake for 30 minutes until a toothpick inserted in the center comes out clean.
Phase 2: The Poking Process
- Use a wooden skewer or straw to poke deep holes every 1 inch across the entire surface while the cake is still hot. Note: Go almost to the bottom, but don't pierce the pan.
Phase 3: The Saturation Soak
- Whisk together sweetened condensed milk, evaporated milk, and 1 tsp vanilla extract until homogenous.
- Slowly pour the milk mixture over the warm cake, ensuring every hole is filled.
- Let the cake cool to room temperature, then refrigerate for at least 4 hours. Note: This resting time is when the magic happens.
Phase 4: The Whipped Finish
- Whip cold heavy cream, powdered sugar, and 1 tsp vanilla extract on high speed until stiff peaks form.
- Spread the whipped cream evenly over the chilled cake using a spatula.
Fixing Texture and Topping
Even with a plan, things can go sideways in the kitchen. The most common issue is the liquid not absorbing, which usually happens if the cake cooled too much before poking.
Why Your Cake Feels Dry
If the milk didn't soak in, it's usually because the "pores" of the cake closed. If you see a layer of liquid sitting on top after an hour, try gently pressing it down with a fork.
Why the Topping is Too Runny
This usually happens if the heavy cream wasn't cold enough or you overbeat it into butter. Always chill your bowl and beaters for 10 minutes first.
| Problem | Root Cause | Solution |
|---|---|---|
| Liquid pooling | Cake was too cold | Poke holes earlier next time |
| Cake collapses | Too many holes/too much liquid | Space holes 1 inch apart |
| Cream deflates | Warm cake base | Ensure cake is fully chilled |
Twists and Variations
If you want to switch things up, this base is very forgiving. For a fruitier vibe, you can use a strawberry flavored cake mix and swap the evaporated milk for a strawberry reduction. If you're craving something different, my strawberry poke cake is a great place to start.
For a more decadent version, try using a chocolate cake mix. This turns the recipe into a rich, fudge like dessert. You can find a similar profile in my homemade chocolate cake if you prefer a traditional crumb.
Decision Shortcut:
- If you want more tang: Add 1/2 tsp of lemon juice to the milk soak.
- If you want more depth: Use melted brown butter instead of vegetable oil in the batter.
- If you want it less sweet: Increase the evaporated milk and decrease the condensed milk by 2 tablespoons.
Scaling Your Moist Milk Poke Cake
Scaling a poke cake requires a bit of math to keep the soak to cake ratio right.
Scaling Down (Half Batch): Use an 8x8 inch square pan. Reduce the baking time by about 20%, checking at 22 minutes. Since you can't easily halve an egg, beat one egg in a small bowl and use half of the liquid.
Scaling Up (Double Batch): Work in two separate 9x13 pans rather than one deep pan. If you use a deeper pan, the middle won't bake through before the edges burn. Keep the salt and vanilla at 1.5x rather than 2x to avoid an overpowering taste.
Debunking Cake Myths
There are a few things people say about this recipe that just aren't true.
First, some say you need a specific "premium" brand of cake mix for the soak to work. That's not true. Any standard white or yellow mix works as long as the ratios of water and oil are followed.
Second, people think poking holes ruins the texture of the cake. Actually, it creates a structured network of "wells" that hold the moisture, preventing the cake from becoming a mushy pile of crumbs.
Storage and Waste Tips
Your Moist Milk Poke Cake stays fresh in the fridge for up to 4 days. Keep it tightly covered with plastic wrap or a lid to prevent the whipped cream from absorbing fridge odors.
Because of the high moisture content, this cake doesn't freeze well once the milk is added. The cream will separate and the texture becomes grainy. If you need to freeze it, bake the base, freeze it wrapped in foil, and then do the poking and soaking process after thawing.
To avoid waste, if you have leftover whipped cream, stir it into your morning coffee or use it as a topping for fresh berries. If you have extra condensed milk, it's great as a sweetener for oatmeal or stirred into a batch of homemade fudge.
Best Serving Ideas
Since this cake is so rich and creamy, it needs something to cut through the sweetness. Fresh raspberries or sliced strawberries are the best companions. The acidity of the berries balances the heavy milk soak.
For a more classic approach, serve a slice with a glass of cold milk or a strong cup of black coffee. The bitterness of the coffee highlights the vanilla notes in the cake. If you're serving it for a party, slice it into small 2 inch squares to make it easier for guests to handle.
Recipe FAQs
What kind of milk is best for poke cake?
A combination of sweetened condensed and evaporated milk. This blend provides the perfect balance of richness and sweetness that penetrates the cake crumb.
What is the secret to super moist cake?
Poke deep holes while the cake is still hot from the oven. This ensures the milk mixture seeps deep into the sponge rather than sitting on the surface.
How to make a cake moist with milk?
Poke deep holes every 1 inch across the warm cake surface. Slowly pour a mixture of sweetened condensed milk, evaporated milk, and vanilla over the cake until every hole is filled.
What are the ingredients for a poke cake?
Cake mix, water, oil, eggs, sweetened condensed milk, evaporated milk, vanilla extract, heavy whipping cream, and powdered sugar. These components create the base, the soak, and the topping.
How to make a red velvet poke cake?
Substitute the white or yellow cake mix with a red velvet mix. Follow the same baking and soaking steps to maintain the moist texture. If you enjoyed adapting the base here, the same customization logic applies to our homemade donuts.
Is it true that I can freeze this cake after adding the milk?
No, this is a common misconception. The high moisture content causes the cream to separate and the texture to become grainy upon thawing.
How long should I refrigerate the cake before frosting?
Chill for at least 4 hours. This ensures the milk soak is fully absorbed and the cake is stable enough to support the whipped cream.
Moist Milk Poke Cake