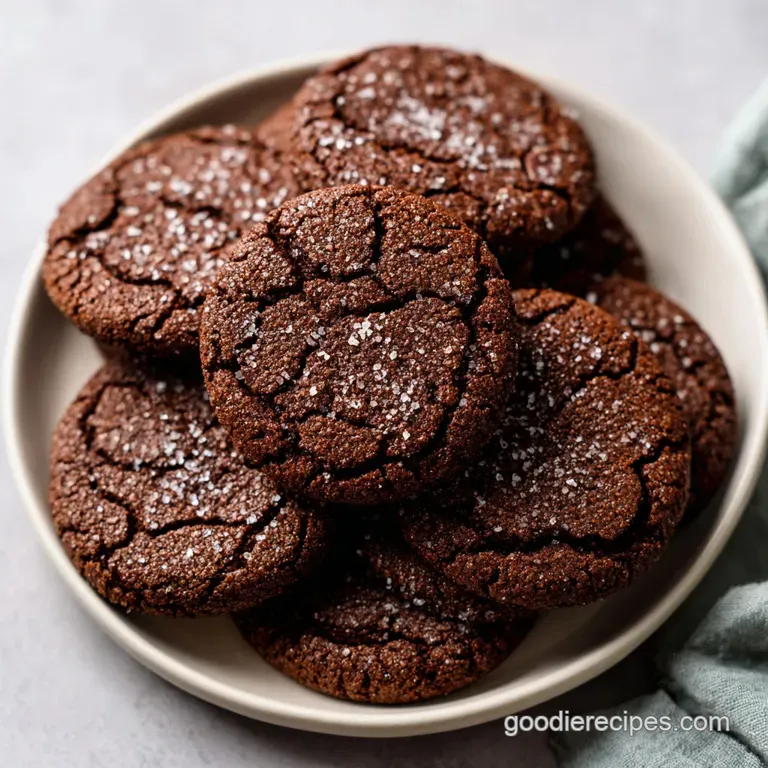
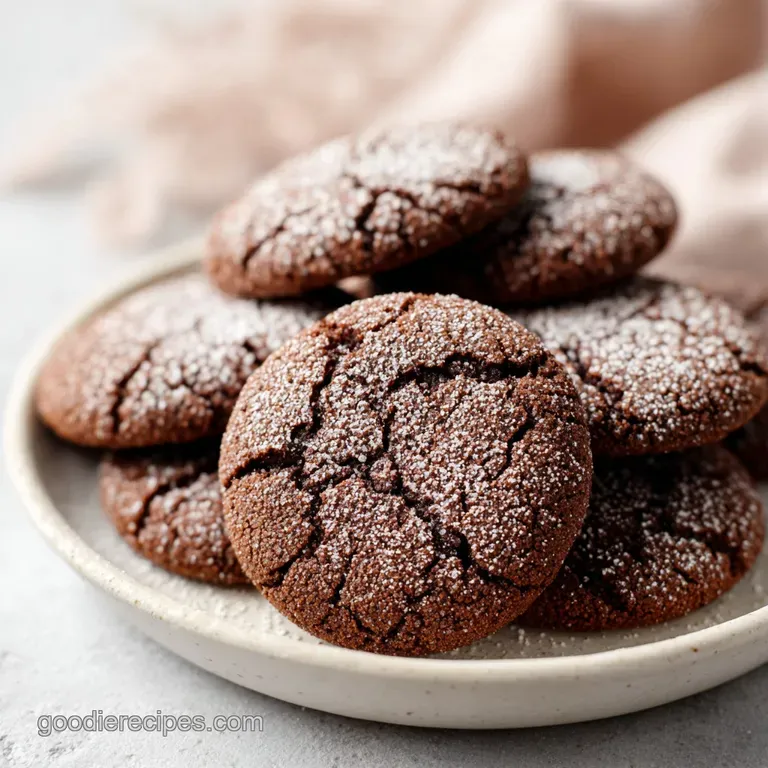
Soft Chocolate Sugar Cookies: Fudgy and Chewy
- Time: Active 15 minutes, Passive 10 minutes, Total 25 minutes
- Flavor/Texture Hook: Fudgy, velvety centers with a sparkling, crisp sugar exterior
- Perfect for: Holiday gift boxes, cozy Sunday afternoons, or beginner bakers
Recipe Specs and Quick Details
The beauty of baking is that it is a conversation between your ingredients. In this recipe, the interaction between the butter and the two types of sugar creates the foundation for that "soft" promise in the name.
We aren't just mixing things together; we are building a structure that can hold onto moisture even after it leaves the oven. It is a process that relies on patience, especially during those three minutes of creaming the butter until it looks like pale silk.
The Power of Cornstarch: This little addition acts as a tenderizer by interfering with the gluten formation in the flour, ensuring the crumb stays tight and soft rather than bread like.
The Dutch Process Difference: By using cocoa treated with alkali, we get a smoother, darker flavor profile that pairs beautifully with the vanilla extract.
Sugar Rolling Technique: Coating the dough before baking creates a micro barrier that traps moisture inside while the outside dehydrates into a delicate, crunchy shell.
| Texture Target | Oven Temp | Bake Time | Visual Cue |
|---|---|---|---|
| Soft & Fudgy | 180°C | 9 minutes | Centers look slightly underdone |
| Classic Soft | 180°C | 10 minutes | Edges set, tops are matte |
| Crisp Edge | 180°C | 12 minutes | Edges darkened, centers firm |
If you are a fan of textures that lean into the indulgent side, you might also enjoy exploring my Brown Butter Toffee Cookies which use a similar fat to sugar ratio for maximum impact.
Shopping List and Pantry Swaps
When you are standing in the baking aisle, the choices can feel overwhelming. For these soft chocolate sugar cookies, the quality of your cocoa powder really dictates the final result.
I always reach for a Dutch process cocoa because it provides that "Oreo like" deep color and a mellow flavor that doesn't fight with the sugar. If you only have natural cocoa powder, the cookies will still be good, but they will be lighter in color and have a slight zing to them.
| Ingredient | Science Role | Pro Secret |
|---|---|---|
| Dutch process Cocoa | Provides fat and deep color | Sift it twice to avoid bitter lumps |
| Cornstarch | Softens the flour proteins | Measure by weight for a tender crumb |
| Light Brown Sugar | Adds moisture and chew | Pack it firmly into the cup |
| Unsalted Butter | Carriers flavor and adds fat | Use cool room temp, not melted |
Choosing the right fats is essential for the structure of any cookie. If you find yourself missing an ingredient, don't panic. Most home kitchens have a few workarounds that won't ruin the family recipe vibes we are going for here.
| Original Ingredient | Substitute | Why It Works |
|---|---|---|
| Unsalted Butter (225g) | Salted Butter (225g) | Same fat content. Note: Omit the kosher salt from the recipe. |
| Dutch process Cocoa (65g) | Natural Cocoa Powder (65g) | Similar volume. Note: Result will be lighter and more acidic. |
| Light Brown Sugar (100g) | Dark Brown Sugar (100g) | High molasses content. Note: Adds a deeper caramel note to the chocolate. |
Essential Tools for Bakes
You don't need a high tech lab to make these, but a few specific items make the workflow much smoother. I personally love using a #40 cookie scoop because it guarantees every cookie is exactly the same size. This isn't just about being tidy; it is about making sure they all finish baking at the exact same second.
If some are big and some are small, the little ones will turn into rocks while the big ones are still raw.
Chef's Tip: If you don't have a cooling rack, flip an oven rack over and set it on your counter. It allows air to circulate under the cookies so the bottoms don't get soggy from their own steam!
I also recommend using a heavy duty stand mixer such as a KitchenAid if you have one, but a hand mixer works just as well. The key is the "creaming" stage. You need enough power to beat air into that butter. Another trick I've learned is to use parchment paper rather than greasing the pan.
Greasing can cause the cookies to spread too thin, making them crisp instead of soft.
Bringing the Dough Together
Cream the base. Place 225g unsalted butter, 200g granulated sugar, and 100g light brown sugar in a large bowl. Beat on medium high speed for 3 minutes until the mixture is pale, fluffy, and looks like whipped frosting.
Emulsify the liquids. Add the egg and 10ml vanilla extract. Beat for 1 minute until the mixture is glossy and smooth. Note: This step builds the structure that prevents the cookies from falling apart.
Sift the dry. In a separate bowl, whisk together 250g flour, 65g cocoa powder, 10g cornstarch, 5g baking soda, and 3g salt. Note: Sifting is vital to remove those stubborn cocoa lumps.
Combine the mixtures. Gradually add the dry ingredients to the wet on low speed. Mix until no streaks of flour remain. Do not overmix!
Portion the dough. Use a #40 scoop to create 1.5 tablespoon balls. Roll them between your palms until perfectly round.
Add the sparkle. Roll each ball in the 50g of granulated sugar until they are heavily coated and shimmering.
Prepare for heat. Place balls 5cm apart on parchment lined baking sheets. Do not flatten them; they will spread naturally.
Bake to perfection. Bake at 180°C for 10 minutes until the edges are matte and set, but the centers look soft.
Cooling phase. Let them rest on the hot pan for 5 minutes. This allows the residual heat to finish the center.
Final rest. Transfer to a wire rack to cool completely. The texture will settle into a velvety crumb as they reach room temperature.
Avoiding Kitchen Disasters
Even the most seasoned home cook runs into trouble sometimes. The biggest culprit with soft chocolate sugar cookies is the oven temperature. If your oven runs hot, these will bake too fast, and you'll lose that fudgy center. I always suggest an oven thermometer if you bake often.
Another issue is the butter temperature; if it's too warm when you start, the cookies will melt into pancakes before they have a chance to rise.
Why Your Cookies Spread Too Much
If your cookies look like flat puddles, it usually means the butter was too soft or the oven wasn't preheated. If the dough feels greasy or sticky, pop the rolled balls into the fridge for 15 minutes before baking. This chills the fat so it melts more slowly in the heat.
| Problem | Root Cause | Solution |
|---|---|---|
| Dry/Crumbly | Too much flour | Measure flour by weight (250g), not by volume. |
| No "Soft" Center | Overbaked | Pull them out when the centers still look slightly "wet." |
| Bitter Aftertaste | Lumpy cocoa powder | Always sift cocoa powder to ensure even distribution. |
Another common mistake is skipping the sifting step. Cocoa powder is notorious for clumping, and biting into a dry pocket of bitter cocoa is not the experience we want for our family treats. If you love a classic cookie experience, you might see some similarities in the technique used for my Best Chocolate Chip Cookies Recipe, where moisture control is also the name of the game.
Common Mistakes Checklist:
- ✓ Ensure the egg is at room temperature to prevent the butter from curdling.
- ✓ Use a kitchen scale for the flour; a "cup" can vary by up to 30 grams.
- ✓ Don't open the oven door during the first 8 minutes of baking.
- ✓ Check that your baking soda hasn't expired (test a pinch in vinegar; it should bubble).
- ✓ Allow the baking sheets to cool completely between batches.
Variations and Clever Swaps
One of the things I love about this recipe is how adaptable it is for different seasons. For example, if you want to make these chocolate sugar cookies for Christmas, you can add a half teaspoon of peppermint extract or roll the dough in crushed candy canes instead of granulated sugar.
It transforms the "classic" into something festive and bright.
- Espresso Boost: Add 1 teaspoon of espresso powder to the dry ingredients to make the chocolate taste even richer.
- Double Chocolate: Fold in 100g of mini chocolate chips after adding the dry ingredients for a fudgy surprise.
- dairy-free: Use a high-quality vegan butter stick (like Miyoko's) at a 1:1 ratio. The texture will be slightly crispier but still delicious.
If you are looking for a shorter shortcut, check out this comparison below.
| Fresh Homemade | Shortcut (Store Mix) | Flavor Impact |
|---|---|---|
| Deep, complex cocoa | Sweet, one note chocolate | Homemade has much more "soul." |
| Ultra soft, velvety | Often chewy or cakey | Fresh starch ratios win every time. |
| Zero preservatives | High sodium/additives | Homemade is better for the family. |
Storage and Reheating Tips
To keep these soft chocolate sugar cookies in their prime, you have to protect them from the air. Once they are completely cool, place them in an airtight container. I like to put a small piece of white bread in the container with them; the cookies will actually pull moisture from the bread, keeping them soft for up to 5 days.
If you want to freeze them, I recommend freezing the dough balls rather than the baked cookies. Place the sugar rolled balls on a tray in the freezer for an hour, then toss them into a zip top bag. You can bake them straight from frozen just add 2 minutes to the bake time.
For leftovers, a 5 second zap in the microwave will bring back that "just out-of the-oven" fudgy warmth.
For zero waste, take any broken cookie pieces or "ugly" crumbs and save them in a jar. They make an incredible topping for vanilla ice cream or can be folded into a cheesecake crust for a bit of chocolatey crunch.
Traditional Myths Debunked
One common myth in the baking world is that you must chill cookie dough for it to be good. While chilling helps with some recipes, these soft chocolate sugar cookies are designed to be baked immediately.
The cornstarch and the specific ratio of granulated to brown sugar provide enough stability that the dough doesn't need to rest to hold its shape.
Another misconception is that more cocoa powder equals more chocolate flavor. In reality, adding too much cocoa makes the dough dry and "sandy." It is the balance of fats (butter and egg yolk) and the acidity of the Dutch cocoa that creates that deep flavor, not just the quantity.
Finally, don't believe the lie that "done" cookies must be firm to the touch. If a cookie is firm in the oven, it will be a rock on the counter. Trust the timer and the visual cue of matte, set edges!
Ideal Serving Suggestions
These cookies are a statement on their own, but they play very well with others. During the winter, I love serving these alongside a big mug of hot cocoa it's chocolate on chocolate, and honestly, you can't go wrong with that.
If it's summertime, try making "cookie sandwiches" by squishing a scoop of peppermint or salted caramel ice cream between two cookies.
Because of their shimmering sugar coating, they also look beautiful on a dessert platter next to lighter treats like Peppermint Sugar Cookies. The contrast between the dark chocolate and the white peppermint is visually striking and always a hit at family gatherings. Whatever you do, make sure you have a cold glass of milk nearby; the velvety crumb of these cookies practically begs for a quick dip!

Recipe FAQs
Why is creaming the butter and sugar for three minutes important?
This step is essential to incorporate air, creating the structure for a soft, tender cookie. If you enjoyed mastering this creaming technique, see how we apply that same aeration principle for texture in our carrot cake cookies.
How to ensure the cookies stay soft after baking?
Limit baking time to exactly 10 minutes. The edges should be set, but the centers must remain soft to ensure the desired texture once they finish cooling on the pan.
Is it true I can bake the dough straight from the freezer?
Yes, this is a highly effective way to manage your baking schedule. Simply place the sugar coated dough balls on your parchment lined sheet and follow the standard 10-minute bake time, adding a minute or two if the centers feel too raw.
How to keep these cookies soft for several days?
Store them in an airtight container with a slice of white bread. The cookies will pull moisture from the bread, which helps maintain their soft, fresh baked quality for up to five days.
How to avoid over developing the gluten in the dough?
Mix the dry ingredients into the wet mixture only until just combined. Over mixing after adding the flour and cocoa powder can lead to tough, chewy cookies instead of the soft, tender consistency you want.
Is a room temperature egg strictly necessary?
Yes, using room temperature eggs ensures a stable, glossy emulsion. A cold egg can cause the butter to seize, resulting in a curdled batter that won't hold air properly during the creaming stage.
How to portion the dough for even baking?
Use a #40 cookie scoop to get consistent 1.5-tablespoon portions. Uniform sizing ensures that every cookie finishes baking at the same 10-minute mark, preventing smaller cookies from drying out.
Soft Chocolate Sugar Cookies
Ingredients:
Instructions:
Nutrition Facts:
| Calories | 173 kcal |
|---|---|
| Protein | 1.9 g |
| Fat | 8.3 g |
| Carbs | 24.4 g |
| Fiber | 1.2 g |
| Sugar | 14.6 g |
| Sodium | 105 mg |
