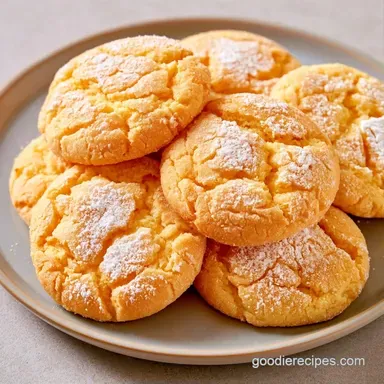
Tangy Cream Cheese Crinkle Cookies
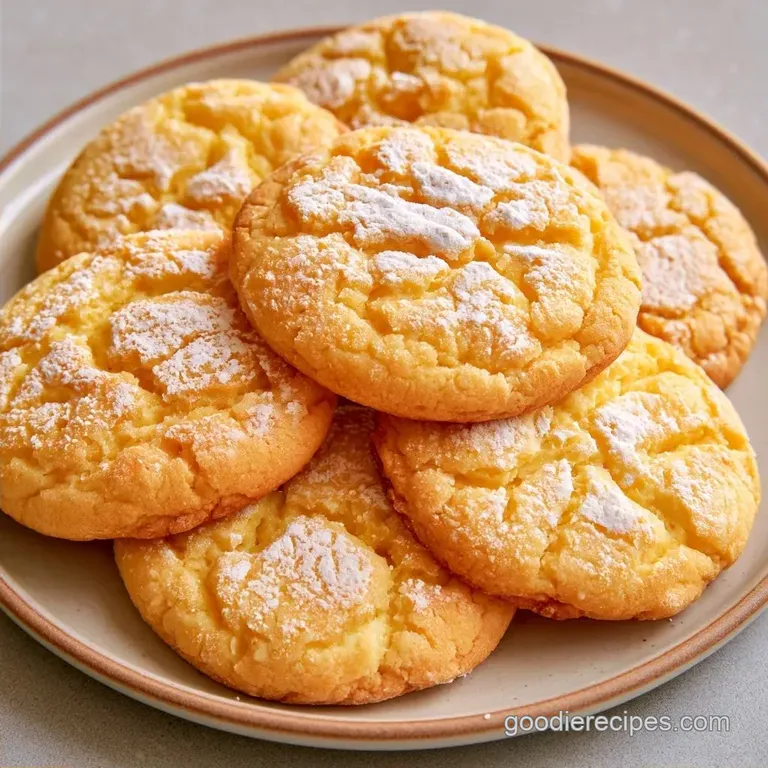
- Time: 20 min active + 2 hours chilling
- Flavor/Texture Hook: Tangy, buttery, and pillowy
- Perfect for: Family gatherings or a little afternoon treat
Cream Cheese Crinkle Cookies: The Real Way
The smell of toasted sugar and tangy cream cheese hitting the air is something you just can't beat. I remember trying to make these for a family brunch once, and I was convinced I needed a professional pastry setup to get those white cracks to actually stay white.
I thought maybe it was about the exact humidity in the room or some fancy technique I hadn't read about.
But here is the thing: you don't need a culinary degree or a temperature controlled studio to get that look. Most people think the "crackle" is some mysterious art, but it's actually just a simple physics trick with sugar.
Once you get the timing right, these cookies come out with a gorgeous white on-gold finish. They have a soft, dense center that feels more like a cheesecake bite than a standard sugar cookie. Let's crack on and get these in the oven.
Basic Recipe Specs
Right then, before we start, let's look at the numbers. You'll want to make sure your butter and cream cheese are truly room temperature, or you'll end up with lumps that just won't go away.
For the best results, stick to these three checkpoints: 225g of cream cheese, a 350°F (175°C) oven, and a strict 12 minute bake time. If you leave them in longer, you lose that soft, pillowy center.
The Building Blocks
I've found that utilizing a kitchen scale is the most reliable way to ensure consistency. Weighing your ingredients prevents the common mistake of adding too much flour, which often leaves cookies dry and crumbly.
| Ingredient | Role | If You Don't Have It |
|---|---|---|
| Cream Cheese | Adds tang and structure | Mascarpone (richer, less tart) |
| All Purpose Flour | Creates the cookie's body | 1:1 gluten-free blend |
| Baking Soda | Assists with the rise | Baking powder (use 2 tsp) |
| Powdered Sugar | Produces the white crackle | Finely ground caster sugar |
Essential Ingredients
- 8 oz (225g) cream cheese, softened to room temperature Purpose: Adds a cheesecake like density and tang
- ½ cup (115g) unsalted butter, softened to room temperature Purpose: Essential for that classic buttery taste
- ¾ cup (150g) granulated sugar Purpose: Provides sweetness and aids in browning
- 1 tsp (5ml) vanilla extract Purpose: Adds warmth and depth of flavor
- 1 large egg, room temperature Purpose: Works as the binding agent
- 2 cups (250g) all purpose flour Purpose: The primary structure. Remember to measure the flour accurately
- ½ tsp (3g) baking soda Purpose: Lifts the dough to allow cracks to form
- ¼ tsp (1.5g) salt Purpose: Offsets the sugar
- ½ cup (60g) granulated sugar (for coating)
- ½ cup (60g) powdered sugar (for coating)
Simple Swaps
| Original Ingredient | Substitute | Why It Works |
|---|---|---|
| All Purpose Flour | Cake Flour | Lower protein content. Note: Creates a softer, more delicate crumb |
| Unsalted Butter | Salted Butter | Identical fat content. Note: Omit the ¼ tsp salt from the ingredients |
| Vanilla Extract | Almond Extract | A bolder, nuttier profile. Note: Use only ½ tsp as it's quite potent |
Tools You'll Need
Since we're keeping this simple, you don't need a mountain of gear. A basic hand mixer works just fine, though a stand mixer such as a KitchenAid makes the creaming process a bit faster.
You'll need a large mixing bowl for the wet ingredients, a medium bowl for the dry ones, and two baking sheets. Parchment paper is a must here, as these cookies have a high sugar content and can stick to bare pans.
How to Make It
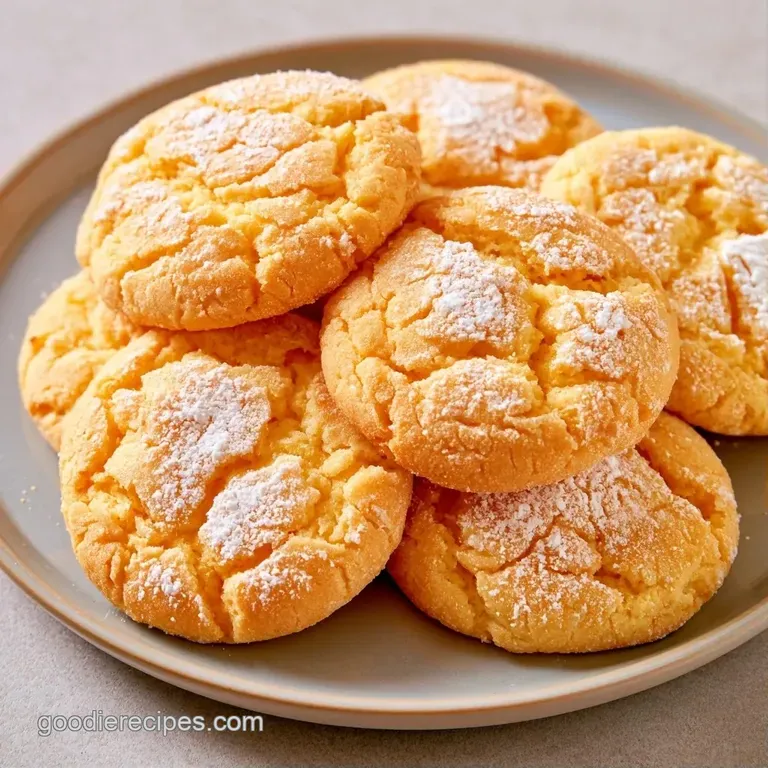
Creaming the Base
Beat the softened butter and cream cheese together on medium speed. Continue until the mixture is pale and completely smooth. Gradually stir in the granulated sugar and beat for another 2 minutes until the texture is light and fluffy.
Stir in the egg and vanilla extract until fully combined.
Combining the Dry Ingredients
In a separate bowl, whisk together the baking soda, salt, and flour. Slowly add this to the cream cheese mixture on low speed. Mix only until the white streaks of flour are gone. To prevent the cookies from becoming tough, be careful not to overmix.
Chilling for Structure
Move the dough to a bowl and cover with plastic wrap. Refrigerate for at least 2 hours. This chilling step is crucial to prevent the cookies from spreading too thin.
Rolling and Baking
Set your oven to 350°F (175°C). Line your baking sheets with parchment paper. Shape 1.5 tablespoons of dough into balls. Roll each ball in granulated sugar, then coat them heavily in powdered sugar.
Place the balls 2 inches apart. Bake for 10-12 minutes until the sides are firm but the centers remain soft. Let them cool on the baking sheet for 5 minutes before moving.
Avoiding Kitchen Disasters
Don't be discouraged if your cookies don't look exactly like the photo; it's usually a temperature problem. If the dough gets too warm, the butter melts rapidly, and that signature "crinkle" turns into a puddle.
Preventing Flat Cookies
Excessive spreading is typically a sign that your dough is too warm. This often happens in a hot kitchen or if the dough has been handled too long while rolling.
Stopping Sugar Absorption
If the powdered sugar vanishes before the cookies enter the oven, you're likely rolling them too soon. Store the dough in the fridge until you are just about to roll and bake.
Fixing Grainy Dough
Tiny lumps suggest the cream cheese and butter didn't emulsify properly, which usually happens when ingredients are too cold. You can fix this by beating them on high speed for another 1 minute.
| Problem | Fix |
|---|---|
| Cookies spread too much | Chill dough another 30 mins |
| Powdered sugar melts | Roll in sugar immediately before baking |
| Dough is lumpy | Beat butter/cheese longer at room temperature |
Mix It Up
Once you've mastered the basics, feel free to experiment with different tastes. My favorite variation is Old Fashioned Lemon Cream Cheese Cookies; simply mix the zest of one medium lemon into the sugar. This adds a refreshing, citrusy zing that balances the richness.
To achieve a warmer, bolder profile, stir a half teaspoon of cinnamon into the flour. For a truly indulgent experience, these go perfectly with a slice of Classic Cheesecake with Sour Cream to create a complete dessert spread.
If you're looking for a different type of treat, you might enjoy my Homemade Biscuits, but let's focus on the sweets for now.
Method Comparison
If you prefer one large dessert over several small ones, you can easily adjust the method.
| Method | Result | Best For |
|---|---|---|
| Oven Baked | Individual cookies | Parties and sharing |
| Skillet/Stovetop | One giant cookie | Lazy Sundays/Family style |
Customizing the Texture
- For a firmer set: chill the dough for 3 hours instead of 2.
- For a softer center: bake for exactly 10 minutes.
- For a crispier edge: bake for 13 minutes.
Freezing and Reheating Guide
Keep these cookies in a sealed jar on the counter for around 3 days. For a longer shelf life, store them in the refrigerator for up to one week, though they will be firmer.
For extended storage, use the freezer. Both baked cookies and uncooked dough balls freeze well. If baking from frozen dough, simply add 2 minutes to the bake time.
To restore the texture, microwave a chilled cookie for 5-10 seconds. This revives the soft, velvety interior and gives them a fresh baked flavor.
Zero Waste Tips
Avoid wasting any remaining powdered or granulated sugar from the coating step. As long as it hasn't come into contact with raw dough, it's perfect for pancakes or your morning coffee. If it has touched the dough, discard it for safety.
How to Serve and Enjoy
The classic way to serve these is on a simple platter, allowing the white cracks to be the star of the show. Because they are quite rich, they go perfectly with a cup of strong black coffee or a glass of cold milk.
If you're serving these for a party, try stacking them in a pyramid. It looks great and keeps the cookies from sliding around on the plate.
Why This Recipe Works
I've spent a great deal of time analyzing why some crinkle cookies don't turn out right. It typically comes down to the behavior of the fats.
Stabilizing the Fat: Mixing butter with cream cheese creates a fat blend with varying melting points. This ensures the cookies keep their lift while remaining moist.
Perfecting the Crackle: The double sugar coating functions as a moisture barrier. The granulated sugar prevents the powdered sugar from absorbing into the dough, allowing the top to dry and crack while the center stays soft.
Recipe FAQs
Do crinkle cookies usually have a cream cheese filling?
That's a myth. The cream cheese is blended directly into the dough to provide a soft, cake like consistency.
What creates the signature cracked appearance?
Coating the chilled dough balls heavily in powdered sugar produces the look. The sugar cracks as the cookies expand during baking.
How to prepare the dough for baking?
Beat softened cream cheese and butter until smooth before mixing in the sugar, vanilla, and egg. Fold in the dry ingredients and chill for two hours.
Why does cream cheese go into the cookie batter?
It introduces a slight tang and ensures a moist, dense crumb. If you loved the sweet tart balance in this recipe, see how we use the same acid technique in our strawberry poke cake.
Is it true that you can bake the dough immediately without chilling?
Surprisingly, no. Refrigerating the dough for two hours prevents the cookies from spreading too much and preserves the crinkle effect.
When should I remove these from the oven?
Take them out after 10 12 minutes at 350°F. The edges should be set while the tops remain soft to the touch.
Cream Cheese Crinkle Cookies