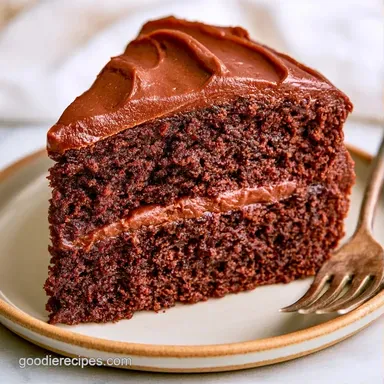
One Bowl Chocolate Cake: Rich and Moist
- Time: 10 min active + 30 min bake + 1 hr set
- Flavor/Texture Hook: Deep cocoa with a moist, tender crumb
- Perfect for: Last minute guests or a comforting family Sunday dinner
The smell of boiling water hitting cocoa powder is honestly one of my favorite things in the kitchen. It's this sudden, intense bloom of chocolate that fills the whole house. I used to be the person who had four different bowls for one cake, and I spent more time scrubbing flour out of crevices than actually eating the dessert.
Then I switched to this method. You don't need a fancy mixer or a dozen tools. Just one big bowl and a whisk. It's the kind of recipe that feels like a win because the payoff is huge but the effort is low.
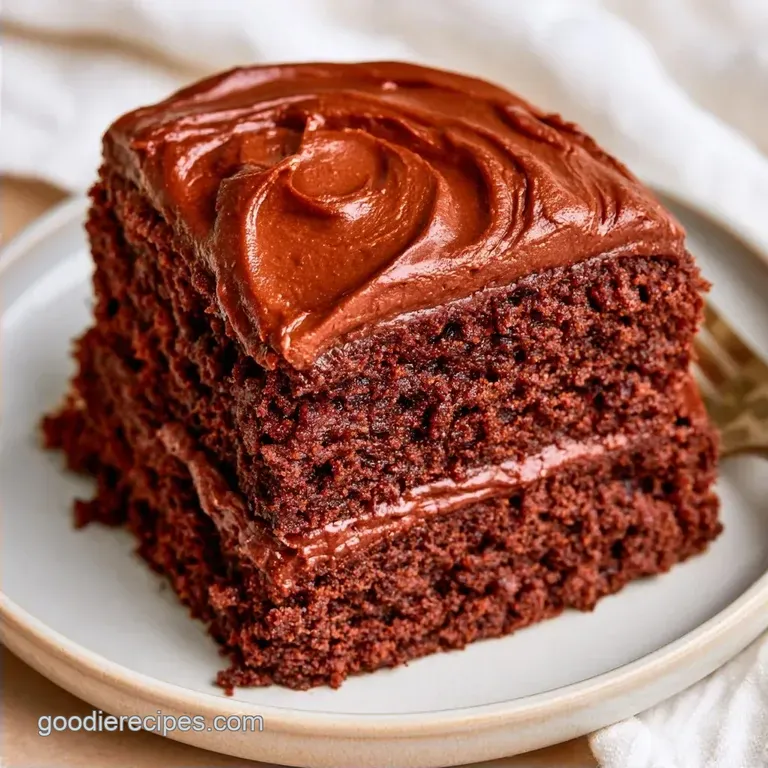
You can expect a mahogany colored cake that stays moist for days. This One Bowl Chocolate Cake doesn't rely on heavy creams or complex techniques, just a few pantry staples and a bit of heat.
One Bowl Chocolate Cake for Busy Nights
Oil instead of butter: Oil stays liquid at room temperature, which means the cake doesn't harden when it cools. It creates a consistent, moist texture that lasts much longer than butter based cakes.
The boiling water: Adding hot liquid blooms the cocoa powder, releasing deeper flavor notes. It also thins the batter, allowing the cake to rise more evenly. If you want something similar but even faster, you might like this Chocolate Cake in 55 Minutes.
Buttermilk acidity: The acid in the buttermilk reacts with the baking soda. This creates those tiny air bubbles that make the crumb tender.
| Method | Time | Texture | Best For |
|---|---|---|---|
| Oven | 30 mins | Even, light crumb | Standard cakes, parties |
| Stovetop | 45 mins | Denser, fudgy | Small pans, no oven access |
Tools for Easy Baking
No special equipment is required. All you really need is a large mixing bowl; I suggest glass or stainless steel since they handle boiling water easily.
A whisk is the ideal tool here, as it breaks up cocoa lumps much faster than a spoon. You will also need a square baking dish or a 9 inch round pan. I always line the bottom with parchment paper a habit I formed three years ago after a cake stuck to the pan.
The Ingredient List
| Ingredient | Function | Alternative |
|---|---|---|
| Buttermilk | Softens the crumb | 1 cup milk + 1 tbsp lemon juice |
| Boiling Water | Activates cocoa | Hot coffee (for a deeper taste) |
| Cocoa Powder | Primary chocolate flavor | Melted dark chocolate (will result in a denser cake) |
| Vegetable Oil | Ensures moisture | Melted coconut oil |
For the Cake
- 2 cups (250g) all purpose flour Note: Essential for the cake's structure
- 2 cups (400g) granulated sugar
- 3/4 cup (75g) unsweetened cocoa powder Note: Higher quality cocoa improves the flavor
- 2 tsp (10g) baking soda
- 1 tsp (5g) baking powder
- 1 tsp (6g) salt
- 1 cup (240ml) buttermilk
- 1/2 cup (120ml) vegetable oil Note: Maintains tenderness for several days
- 2 large eggs
- 2 tsp (10ml) vanilla extract
- 1 cup (240ml) boiling water
For the Simple Chocolate Glaze
- 1/2 cup (115g) unsalted butter, melted
- 1/3 cup (30g) unsweetened cocoa powder
- 3 cups (360g) powdered sugar
- 1/3 cup (80ml) milk
- 1 tsp (5ml) vanilla extract
Timing and Yield
This recipe makes about 15 servings. It's a generous cake, so it's great for a crowd.
- Prep time: 10 minutes
- Bake time: 30 minutes
- Total time: 1 hour 40 minutes (includes cooling and setting the glaze)
- Oven temp: 350°F (175°C)
Step-by-step Baking Flow
Phase 1: The Setup
Preheat the oven to 350°F (175°C). Grease your 9 inch pan and line the bottom with parchment paper. This ensures the cake slides out without breaking.
Phase 2: The One Bowl Mix
Sift the flour, sugar, cocoa powder, baking soda, baking powder, and salt into your large bowl. Whisk them together until the color is a uniform brown.
Add the buttermilk, vegetable oil, eggs, and vanilla extract. Whisk until the batter is smooth.
Stir in the boiling water by hand. The batter will look very thin, almost like soup. Trust me on this, don't add more flour. This is what makes the One Bowl Chocolate Cake so tender.
Phase 3: The Bake
Pour the batter into the pan. Bake for 30-35 minutes until a toothpick comes out with a few moist crumbs. The top should spring back when you press it lightly.
Cool the cake in the pan for 10 minutes. Then, move it to a wire rack to finish cooling.
Phase 4: The Finish
Whisk the melted butter, cocoa powder, powdered sugar, milk, and vanilla together. Keep whisking until it's glossy and smooth.
Pour the glaze over the cake while it's still slightly warm. Let the glaze set for 1 hour before you slice into it.
Fixing Texture Issues
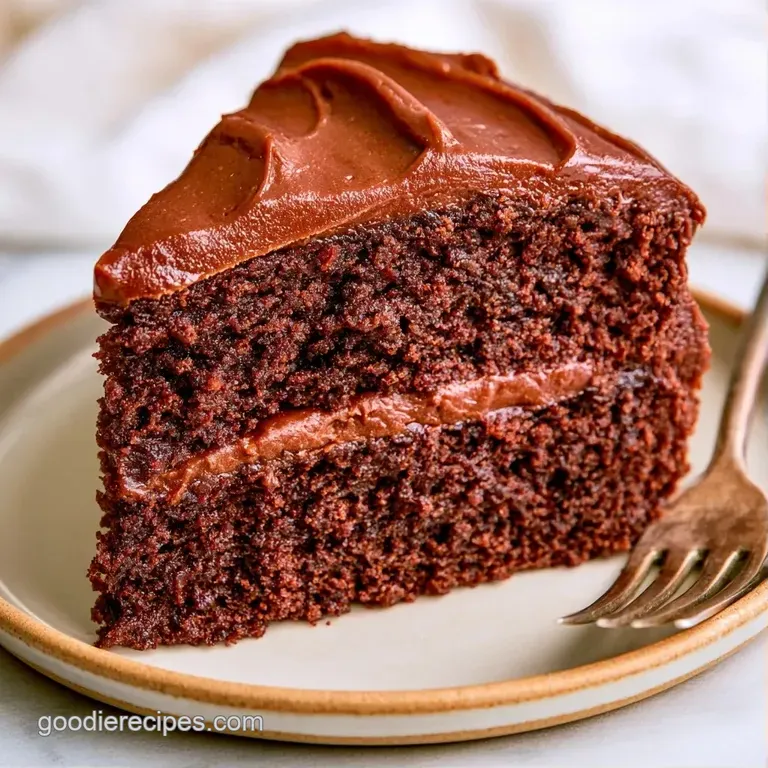
One of the most common things I see is a cake that sinks in the middle. This usually happens if the oven door is opened too often, letting the heat escape. Keep the door shut until the 25 minute mark.
If the cake feels too dense, your baking soda might be old. Leavening agents lose their punch over time. I always check mine by putting a pinch in vinegar to see if it bubbles.
Another issue is a dry crumb. This happens if the cake stays in the oven just five minutes too long. Start checking at 30 minutes.
| Problem | Fix |
|---|---|
| Sunken middle | Avoid opening oven door early |
| Dense texture | Use fresh baking soda/powder |
| Dry crumb | Reduce bake time by 5 mins |
| Clumpy glaze | Sift powdered sugar before mixing |
Adjusting the Batch Size
For a smaller treat, you can halve the recipe. Use a 6 inch pan and cut the baking time by 20%. To handle the egg, whisk one in a cup and use only half of the liquid.
If you want to double the batch, a few changes are needed. To make sure the center is fully cooked, I recommend using two separate pans instead of one deep one. Set your oven to 325°F (160°C) and increase the baking time.
Don't double the baking soda or salt exactly; I find that using 1.5x the amount prevents a metallic taste.
Baking Truths
Some people think you have to cream butter and sugar for a cake to be light. That's for sponges. In a One Bowl Chocolate Cake, the chemical reaction between buttermilk and soda does the heavy lifting.
Another myth is that sifting cocoa is optional. Cocoa powder is notorious for clumps that don't disappear during mixing. If you don't sift, you'll find little pockets of bitter powder in your finished cake.
Storage Guidelines
Keep the cake in a closed container at room temperature for up to 2 days. For a longer shelf life, refrigerate it for 4 days. I've noticed that the oil-based crumb remains moister in the fridge than butter cakes typically do.
Freezing individual slices is also an option. Wrap each piece securely in plastic wrap and then foil; they will remain fresh for about 2 months. Simply let a slice thaw at room temperature for an hour before serving.
To make the most of your ingredients, use any remaining chocolate glaze as a dip for fresh strawberries or apple slices. It's a perfect way to clear out the mixing bowl.
Flavor and Texture Twists
For a mocha version, swap the boiling water for hot brewed coffee. It doesn't make the cake taste like a latte, but it makes the chocolate flavor much deeper.
If you like a bit of crunch, fold in 1/2 cup of chopped walnuts or semi sweet chocolate chips just before pouring the batter into the pan.
For those who love other cocoa treats, this pairs well with a slice of Chocolate Banana Bread Loaf recipe for a full dessert spread.
For a firmer set, you can chill the cake for 2 hours after glazing. This makes it easier to get clean, sharp slices.
Plating and Serving
I like to serve this cake with a dollop of whipped cream or a scoop of vanilla bean ice cream. The cold cream against the rich, dark cake is a classic for a reason.
Since the glaze is quite rich, a sprinkle of flaky sea salt on top helps balance the sweetness. It brings out the mahogany notes of the cocoa.
When slicing your One Bowl Chocolate Cake, use a warm knife. Dip the blade in hot water and wipe it clean between cuts. This gives you those professional looking edges without smearing the glaze.
Right then, you've got a classic, family style dessert that doesn't leave you with a sink full of dishes. It's a simple win that always hits the spot. Trust me, once you try the one bowl method, you'll never go back to the old way.
Recipe FAQs
How to make a chocolate cake in one bowl?
Whisk all dry ingredients first, then stir in the wet ingredients and boiling water. Bake at 350°F for 30-35 minutes until a toothpick comes out with a few moist crumbs.
What makes the one bowl method so effective?
Mixing everything in one vessel reduces cleanup and prevents overworking the batter. If you enjoyed this simplicity, try the easy approach used in our baked cheesecake.
Does adding boiling water ruin the batter?
No, and here's why. The hot water blooms the cocoa powder, which intensifies the chocolate flavor and thins the batter for a softer crumb.
Can I substitute the buttermilk?
Use a combination of milk and a splash of lemon juice or vinegar. This mimics the acidity needed to react with the baking soda for a proper rise.
Why is the batter so thin before baking?
The oil and boiling water create a low-viscosity mixture. This is normal and is exactly what makes the final cake so moist.
Do I really need parchment paper?
Use parchment to ensure the cake releases perfectly from the bottom of the pan. Greasing the sides is helpful, but the paper prevents sticking.
Is it true that butter cakes are always moister?
This one's false: Oil-based cakes stay softer at room temperature and often feel more moist on the palate. They also have a more consistent texture across different temperatures.
One Bowl Chocolate Cake