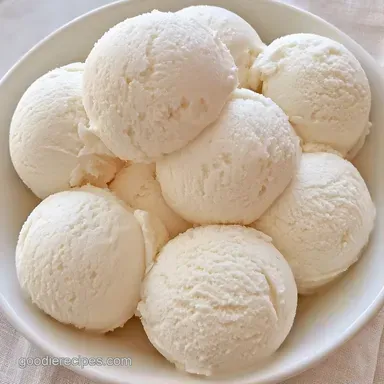
No-Churn Vanilla Ice Cream with Condensed Milk
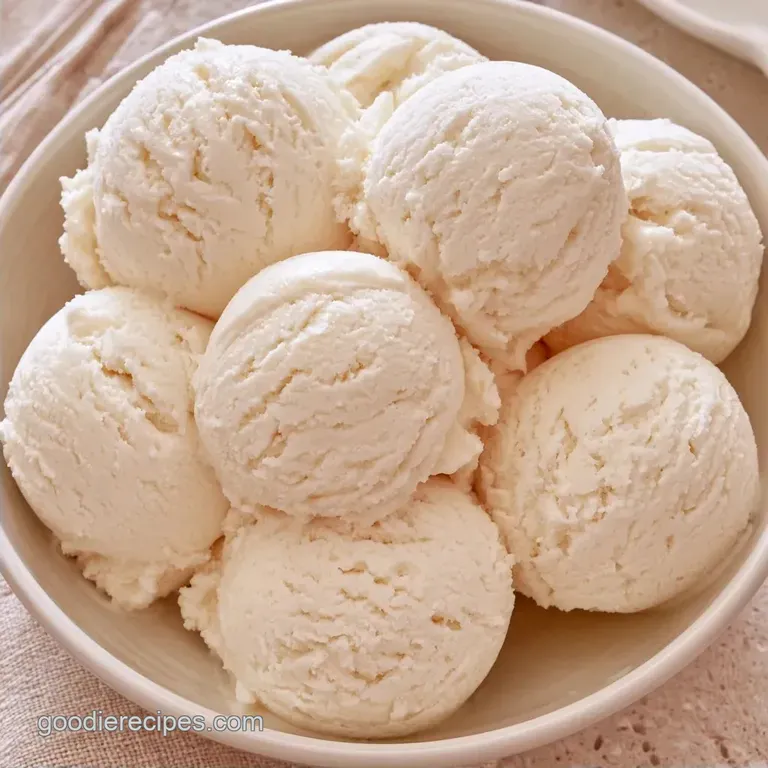
- Time:15 minutes active + 6 hours chilling
- Flavor/Texture Hook: Rich, dense, and silky
- Perfect for: Easy summer desserts or beginner bakers
Making Homemade Vanilla Ice Cream
The high pitched whine of a hand mixer is the sound of a summer afternoon in my house. I remember one July where the heat felt like a physical weight, and we were all craving something frozen, but the old churner was broken.
I spent an hour trying to stir a custard base by hand in the freezer, only to end up with a block of sweet ice that felt like a popsicle gone wrong.
That's when I realized you don't need a machine to get that professional scoop. By changing how we introduce air into the mix, you can get a result that feels like it came from a high end creamery.
This No Churn Vanilla Ice Cream is the result of that curiosity. It skips the cooking and churning entirely, relying on a few clever ingredients to do the heavy lifting. You just whip, fold, and freeze.
Why the Texture Works
Whipped cream traps tiny air bubbles that keep the mix from turning into a solid ice block. Condensed milk has a low water content, which stops large ice crystals from growing as it freezes.
Airy Peaks: Beating the cream creates a structure that supports the heavy syrup. Sugar Concentration: The high sugar levels in the condensed milk lower the freezing point of the mix.
The result is a treat that doesn't require a professional machine. It's similar to the Nigella no churn vanilla ice cream style that many home cooks love.
| Method | Time | Texture | Best For |
|---|---|---|---|
| Traditional Churn | 4-6 hours | Light and Airy | Purest flavor |
| No Churn | 6-12 hours | Dense and Rich | Minimal effort |
Right then, let's look at what we actually need to put this together.
Ingredient Breakdown
The beauty of this recipe is in the simplicity. You aren't balancing eggs or tempering heat. Instead, you're combining fats and sugars in a way that mimics the churning process.
| Component | Purpose | Substitute Notes |
|---|---|---|
| Heavy Cream | Provides air and body | Coconut cream: adds a nutty flavor |
| Condensed Milk | Sweetness and smoothness | Evaporated milk + sugar: less rich |
| Vanilla Extract | Primary flavor profile | Vanilla bean paste: adds visible specks |
| Sea Salt | Balances the sugar | Kosher salt: use slightly more |
Trust me on the salt. A tiny pinch doesn't make it salty, it just stops the sweetness from feeling one dimensional.
The Essential Tools
You don't need professional equipment for this. Any basic electric mixer, whether handheld or a stand model like a KitchenAid, works perfectly. I suggest using a chilled metal bowl to help the cream stiffen more quickly.
You'll also need a rubber spatula for the folding. While a whisk is great for the condensed milk, put it away once the whipped cream is added. A spatula ensures you don't deflate the air bubbles you've worked so hard to build.
Lastly, a 9x5 inch loaf pan is the standard choice. It provides the right surface area for the ice cream to freeze evenly without taking days to set.
Step by step Method
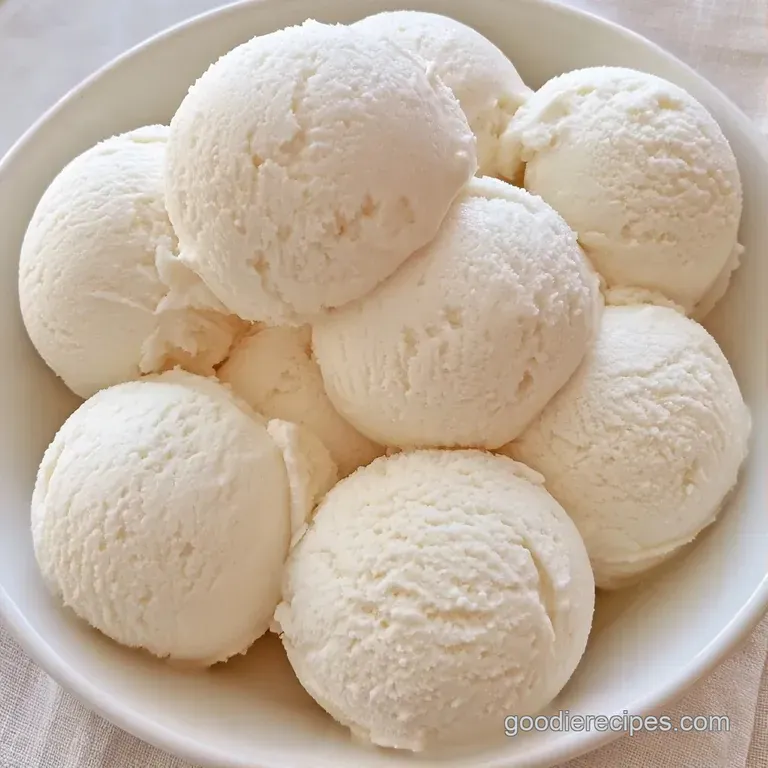
Time to get started with the assembly. Ensure your cream is thoroughly chilled before beginning.
- Add the cold heavy cream to a chilled mixing bowl.
- Whip the cream on medium high speed until stiff peaks form. Note: The cream should stand straight up when you lift the beaters.
- Pour the chilled sweetened condensed milk into a medium bowl.
- Mix in the salt and vanilla extract until fully combined.
- Gently fold the condensed milk mixture into the whipped cream using a rubber spatula.
- Use a "cut and fold" technique slicing through the center and lifting from the base—until the mixture is smooth and uniform.
- Pour the mixture into a 9x5 inch loaf pan and smooth the surface.
- Place a sheet of plastic wrap flush against the cream. Note: This keeps ice crystals from forming on top.
- Freeze for at least 6 hours, or overnight, until firm to the touch.
Fixing Common Issues
Even the easiest recipes can go sideways if the temperature isn't right. Here is how to handle the most frequent hiccups.
Fixing Grainy Cream
If you beat the cream for too long, it starts to separate and looks curdled. This is the beginning of butter. If it's just slightly grainy, you can sometimes save it by gently folding in an un whipped tablespoon of cream. If it's fully separated, you have to start over.
Stopping Ice Crystals
Those crunchy bits of ice happen when air hits the surface of the cream. The best way to stop this is to ensure the plastic wrap is touching the mixture, not just hovering over the pan. This creates a seal that locks out the freezer air.
Fixing Soft Texture
If your Vanilla Ice Cream is still soupy after 6 hours, your freezer might be set too warm. Give it another 2 hours. If you're using a small freezer in a dorm or office, it often takes longer to reach the necessary temperature.
Fun Flavor Variations
Feel free to experiment after mastering the basics. With a simple foundation of condensed milk and a pinch of salt, this 3-ingredient ice cream is incredibly adaptable.
- Mint Chip: Stir in a drop of peppermint extract and a handful of mini chocolate chips.
- Berry Swirl: Simmer frozen berries with a bit of sugar, cool them, and swirl them through with a knife before freezing.
- Coffee Crunch: Whisk 1 tsp instant espresso powder into the condensed milk.
If you enjoy this rich texture, my classic cheesecake recipe uses a similarly decadent base. For something different, you could also whip up some homemade donuts to serve alongside.
Quick Adjustments:
- More vanilla flavor? → Use vanilla bean paste.
- Thicker consistency? → Freeze for 8 hours.
- Less sweet? → Add 1/2 tsp extra salt.
Freezing and Storage
This Vanilla Ice Cream doesn't belong in the fridge. Keep it in the freezer in its pan or transfer it to an airtight container. It stays fresh for about 2 weeks. After that, it may start to develop a "freezer taste" from absorbing other food odors.
If you have leftover sweetened condensed milk, don't toss it. Stir a spoonful into your morning coffee for a creamy, sweet treat. You can also use it as a binder for homemade fudge.
How to Serve
The hardest part of this recipe is the waiting. To get a clean scoop, let the container sit on the counter for 3-5 minutes.
I highly recommend dipping your ice cream scoop in hot water before each dive. This helps the scoop glide through the dense cream without crushing the air bubbles. Serve it in a chilled bowl to keep it from melting too fast.
For a little extra touch, top it with fresh berries or a drizzle of honey. According to data from USDA FoodData Central, the fat content in heavy cream is what gives this dessert its satisfying mouthfeel.
The Truth About Churning
Avoid these common misconceptions to ensure your dessert turns out perfectly.
First, you don't actually need a professional machine to achieve a "real" texture. Whipping the cream performs the same function as a churner by incorporating air; the only real difference is the density of the bubbles.
Second, avoid substituting low-fat cream. The fat content in heavy cream is essential for stabilizing those air bubbles. If you use half and half, your Vanilla Ice Cream will likely freeze into a hard, icy block rather than a smooth, scoopable treat.
Lastly, don't assume that adding more sugar will automatically make the ice cream softer. While sugar does lower the freezing point, an excess can prevent the mixture from ever setting completely. For the best results, stick to the measured can of condensed milk.
Recipe FAQs
Is no-churn ice cream any good?
It tastes remarkably like traditional custard style ice cream. The combination of condensed milk and whipped cream creates a rich, velvety texture without the need for a machine.
How to make vanilla ice cream without churning?
Beat cold heavy cream until stiff peaks form, then fold in a mixture of sweetened condensed milk, vanilla, and salt. Freeze the result in a loaf pan for at least six hours.
What's the best base for no-churn ice cream?
A blend of chilled sweetened condensed milk and stiffly whipped heavy cream is the ideal base. This prevents large ice crystals from forming and ensures a smooth consistency.
Why is my no-churn ice cream icy?
Ice crystals usually form when the surface is exposed to air during freezing. Cover the top directly with plastic wrap to create a seal and keep the texture creamy.
Is this a simplified version of the Nigella Lawson method?
It follows the same basic principle of using condensed milk and whipped cream. This method skips the custard base to save time while keeping the same luxurious feel.
Is it true you can make no-churn ice cream without condensed milk?
Actually, no. Condensed milk provides the necessary sugar and solids to prevent the mixture from freezing into a solid block of ice.
Could I add a drizzle of something on top?
A swirl of brown butter caramel adds a sophisticated, salty contrast. Just fold it in gently at the end so you don't deflate the cream.
Must the mixing bowl be chilled?
No, this is a common misconception. While a chilled bowl helps the cream whip faster and more stably, you can still get stiff peaks in a room temperature bowl if the cream itself is ice cold.
No Churn Vanilla Ice Cream