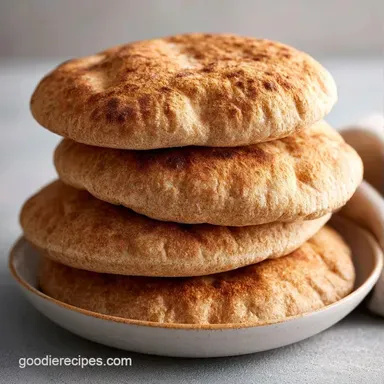
Whole Wheat Pita Bread with Honey
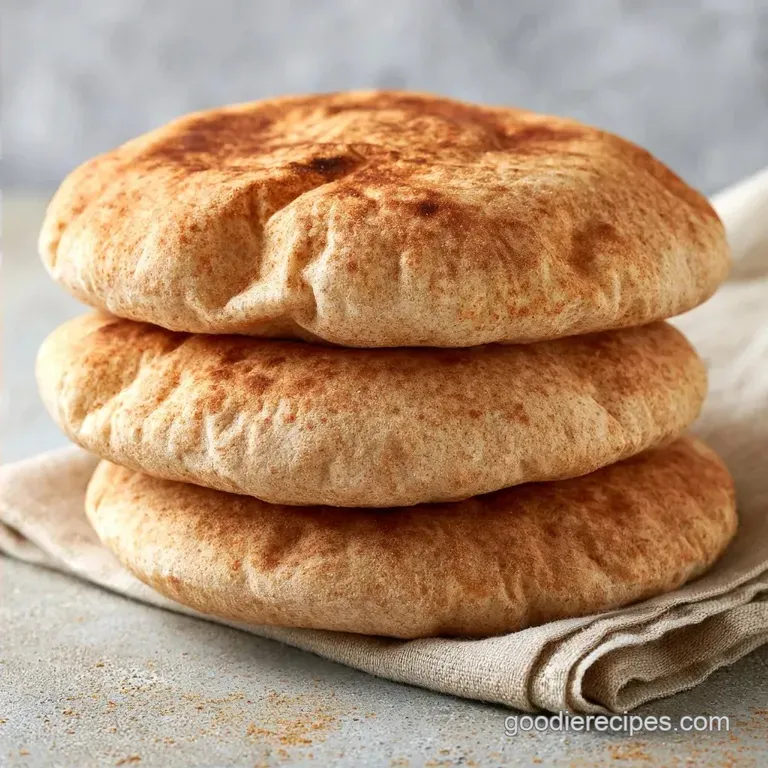
- Time: 15 min active + 60 min rising (80 mins total)
- Flavor/Texture Hook: Nutty toasted wheat with a soft, airy center
- Perfect for: Weekend mezze platters or healthy school lunches
The smell of toasted grain and warm honey hits you the second these come out of the oven. There is something about that specific aroma that makes a kitchen feel like a home. I usually pull these out on Friday nights when friends are coming over for a spread of hummus, baba ganoush, and salty olives.
It's the kind of food that invites people to gather around the counter and tear into pieces while they're still steaming. You don't need a fancy bakery setup to get that classic pocket, just a very hot surface and a bit of patience with the rise.
We're making Whole Wheat Pita Bread that actually tastes like real bread, not cardboard. It's a bold, rustic addition to any meal that balances the richness of dips with a wholesome, earthy base.
Quick Summary of Whole Wheat Pita Bread
The main goal here is the puff. If the oven isn't hot enough, you just get a whole wheat cracker. But when the temperature hits that sweet spot, the water in the dough flashes into steam and pushes the layers apart.
Since we're using whole wheat, the bread has a deeper, more complex flavor than white pita. It's a bit more substantial, which makes it great for stuffing with heavier fillings like falafel or grilled veggies without it falling apart.
Flavor Map:
- Toasted: From the over high heat bake.
- Sweet: A hint of honey to balance the wheat.
- Earthy: Natural whole grain notes.
- Salty: Just enough to make the flavors pop.
How the Pockets Actually Form
- Flash Steam: The extreme heat turns moisture into steam instantly, forcing the dough to inflate.
- Honey Tenderizer: Honey keeps the whole wheat from feeling too dry or crumbly.
- Yeast Gas: The 60 minute rise fills the dough with tiny bubbles that make the puff easier.
| Method | Time | Texture | Best For |
|---|---|---|---|
| Oven (Stone) | 2-3 mins | Consistent puff | Large batches |
| Stovetop | 4-5 mins | Charred spots | Small batches |
Gathering Your Essentials
For this recipe, you want a flour that isn't too coarse. A fine ground whole wheat flour helps the dough stay flexible.
| Component | Purpose | Substitute Notes |
|---|---|---|
| Whole Wheat Flour | Structure & Fiber | White flour: Lighter texture, less nutty |
| Instant Yeast | Lift & Aeration | Active Dry: Must be bloomed in water first |
| Honey | Browning & Softness | Maple syrup: Similar effect, slightly different taste |
| Olive Oil | Flexibility | Avocado oil: Neutral flavor, similar fat content |
The full list:
- 2 cups whole wheat flourWhy this? Provides the hearty base and fiber
- 3/4 cup warm water (110°F/43°C)Why this? Activates yeast without killing it
- 2 1/4 tsp instant yeastWhy this? Fast acting for a quicker rise
- 1 tbsp honeyWhy this? Feeds yeast and softens the crumb
- 2 tbsp olive oilWhy this? Keeps the bread from being brittle
- 1 tsp saltWhy this? Controls yeast and adds flavor
- 2 tbsp whole wheat flour (for dusting)
Quick Swaps:
- No honey? Use 1 tbsp sugar.
- No olive oil? Any neutral vegetable oil works.
- Too sticky? Add flour 1 tbsp at a time.
Equipment Needed
A high end kitchen isn't necessary, though the cooking surface is important. While a baking stone is an excellent choice, flipping a baking sheet upside down also creates a flat, intensely hot surface.
I recommend a digital thermometer for the water temperature. Water that is too hot will destroy the yeast, while water that is too cold will slow the rising process significantly. You'll also need a rolling pin to ensure the dough reaches the correct thickness.
Chef's Note: For a more charred, traditional result, try using a cast iron skillet on your stovetop.
The Cooking Process
Phase 1: Preparing the Dough
Mix warm water, honey, and instant yeast in a bowl. Let the mixture rest for 5 minutes until it becomes frothy. Stir in the olive oil, salt, and whole wheat flour. Mix until a rough dough forms, then knead by hand for 3-5 minutes.
Stop once the dough is tacky but no longer sticks to your fingers.
Phase 2: The First Rise
Place the dough in a lightly greased bowl. Cover with a damp cloth and leave it in a warm, draft free area for 60 minutes. It is ready when it has doubled in volume and feels airy.
Phase 3: Shaping the Pockets
Preheat the oven to 475°F (245°C) with a baking stone or inverted baking sheet already inside. Punch down the dough and divide it into 8 equal portions. Roll each into a ball, then flatten them into circles roughly 1/4 inch thick, keeping the edges smooth.
Phase 4: High Heat Puffing
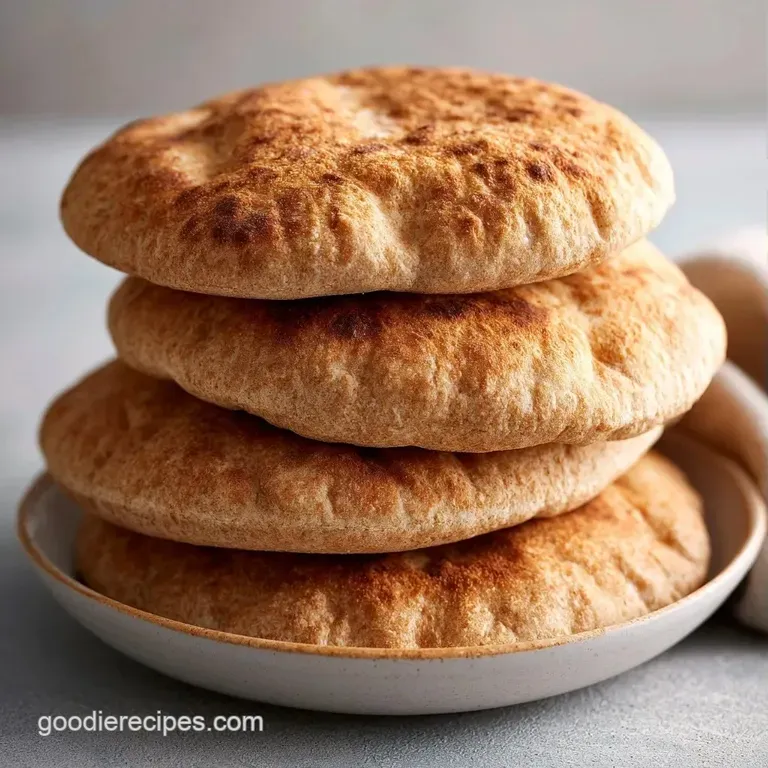
Place two pitas on the hot baking surface at a time. Bake for 2-3 minutes until they puff up and turn a light mahogany color.
Phase 5: Final Softening
Immediately wrap the hot pitas in a clean kitchen towel. This captures the steam and prevents the crust from hardening.
- 1. Water Temp
- 110°F (43°C).
- 2. Dough Thickness
- 1/4 inch.
- 3. Oven Temp
- 475°F (245°C).
Why You'll Love This Recipe
This Homemade Whole Wheat Pita Bread is a great alternative to store-bought versions that often taste like preservatives. It's a satisfying, filling bread that pairs with almost anything.
The contrast here is the key. You get the slightly crisp, charred exterior and a soft, steamy interior. It's a balance of the rustic nature of whole wheat and the airy lightness of a properly puffed pita.
If you're looking for other flatbreads to try, my homemade flour tortillas recipe is another great way to get that fresh baked smell in your house.
Decision Shortcut:
- Extra softness? → add 2 tbsp plain Greek yogurt to the dough
- More earthy taste? → use 100% stone ground flour
- Faster prep? → use a stand mixer for the 3 minute knead
Avoiding Kitchen Disasters
Pitas that won't puff
This usually happens because the oven surface wasn't hot enough. If the dough doesn't hit a searing surface, the steam doesn't build up fast enough to push the layers apart. Make sure the baking sheet has been preheating for at least 20 minutes.
Overly sticky dough
Whole wheat flour absorbs water differently depending on the brand. If your dough is sticking to everything, add a tablespoon of flour at a time during the kneading phase. It should feel like a Post it note, not like glue.
Hard or crunchy crust
If your pitas come out like crackers, you likely overbaked them or skipped the towel wrap. The towel is non negotiable. The steam trapped inside the cloth softens the crust back down.
Storage & Reheating
Store your pitas in an airtight container or a sealed bag. They will stay fresh at room temperature for about 2 days, or you can keep them refrigerated for roughly 5 days.
For larger batches, freezing is a great option. Flash freeze the pitas on a baking sheet before transferring them into a bag; they'll remain good for 3 months.
To reheat, lightly mist the bread with water and warm it in a hot skillet or toaster for 30 seconds to regain that soft texture.
Eco-Friendly Tip: Save the remaining bits of dough from rolling. Shape them into small balls and bake with salt and olive oil to create quick and tasty pita chips.
Dietary Adaptations
For a more savory edge, fold in a teaspoon of dried oregano or garlic powder during the kneading phase. This makes the Healthy Whole Wheat Pita Bread taste more like a Greek style flatbread.
If you're looking for a yeast free version, you can use baking powder, but the texture will be denser and you won't get as big of a pocket. It's more of a flatbread than a pita.
For those managing blood sugar, this Whole Wheat Pita Bread for Diabetics is naturally higher in fiber than white bread, which slows down glucose absorption. To make it even heartier, you can swap 1/2 cup of the flour for oat flour. This creates a different, slightly nuttier crumb.
Presentation Tips
The best way to serve these is as part of a mezze platter. Spread out some hummus, tzatziki, and olive tapenade on a wooden board. Pile the warm pitas in a basket lined with a cloth to keep them cozy.
You can also make a Healthy Whole Wheat Gyro by slicing the pita open and stuffing it with grilled chicken, sliced cucumbers, red onion, and a dollop of yogurt sauce.
For a simpler meal, try them as a base for a breakfast sandwich. Toast the pocket and fill it with a fried egg, avocado, and a slice of tomato. The whole wheat flavor stands up well to the richness of the egg.
Recipe FAQs
Are whole wheat pitas healthy?
They provide more fiber and nutrients than white bread options.
Tip: serve them with raw vegetables to increase the overall nutritional value.
Which pita bread is the healthiest?
Whole grain varieties are usually best as they retain the bran and germ.
Tip: look for labels stating 100% whole wheat to avoid refined blends.
Can diabetics safely eat pita bread?
Whole wheat versions have a lower glycemic index than white bread.
Tip: pair each piece with a healthy fat like avocado to help stabilize blood sugar.
Does pita bread count as low in histamine?
Wheat and yeast can be histamine triggers for some sensitive people.
Tip: freshly baked bread is often better tolerated than store-bought alternatives.
How to keep the crust from becoming too tough?
Wrap the hot pitas immediately in a clean kitchen towel to trap steam.
Tip: if they feel firm, sprinkle with a few drops of water and reheat in a skillet.
Would eating pita and hummus every night be balanced?
It is a nutritious combination, but rotating your proteins and greens is essential.
Tip: try swapping hummus for tzatziki to introduce different micronutrients.
What are the best Mediterranean appetizers to serve with these?
The earthy notes of the wheat are perfectly balanced by fresh cucumbers, feta cheese, and olives.
Tip: If you’ve mastered the dough technique here, give it a try with our buttery crescent rolls.
Is it true that you must use a baking stone for the bread to puff?
Not true. An inverted baking sheet preheated to 475°F works just as effectively.
Tip: ensure the surface is scorching hot before adding the dough for the best rise.
Whole Wheat Pita Bread