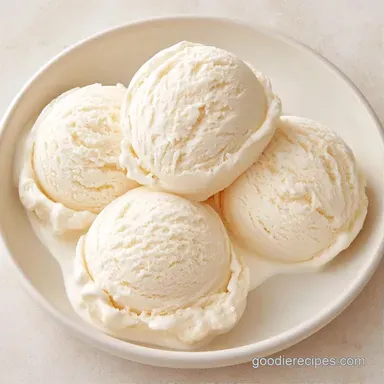
Dense Vanilla Ice Cream
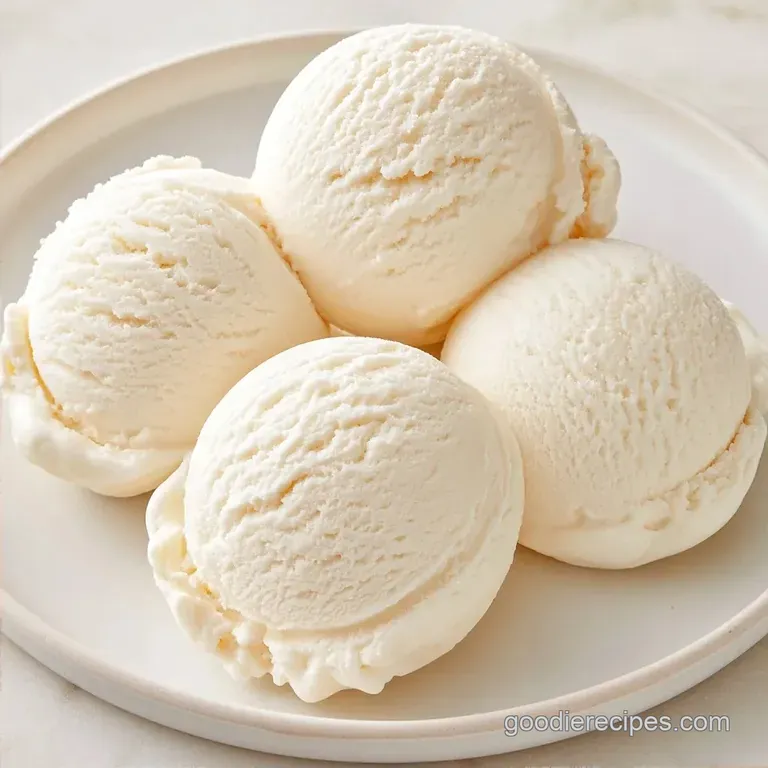
- Time: 10 min active + 6 hrs 20 min chilling/freezing
- Flavor/Texture Hook: Dense, creamy, and punchy vanilla
- Perfect for: Family dessert nights or a simple summer treat
Making Easy Vanilla Ice Cream
Ever wonder why some store-bought pints feel like you're eating frozen air? It's because commercial brands pump in tons of air to increase volume. When you make it at home, you control the density, which is why a homemade scoop feels so much more satisfying.
I remember trying to make a fancy custard version once, and I accidentally curdled the eggs because I got distracted by a phone call. It was a disaster. That's why I switched to this method. It's way more relaxed, but it still tastes like the classic treats from a real creamery.
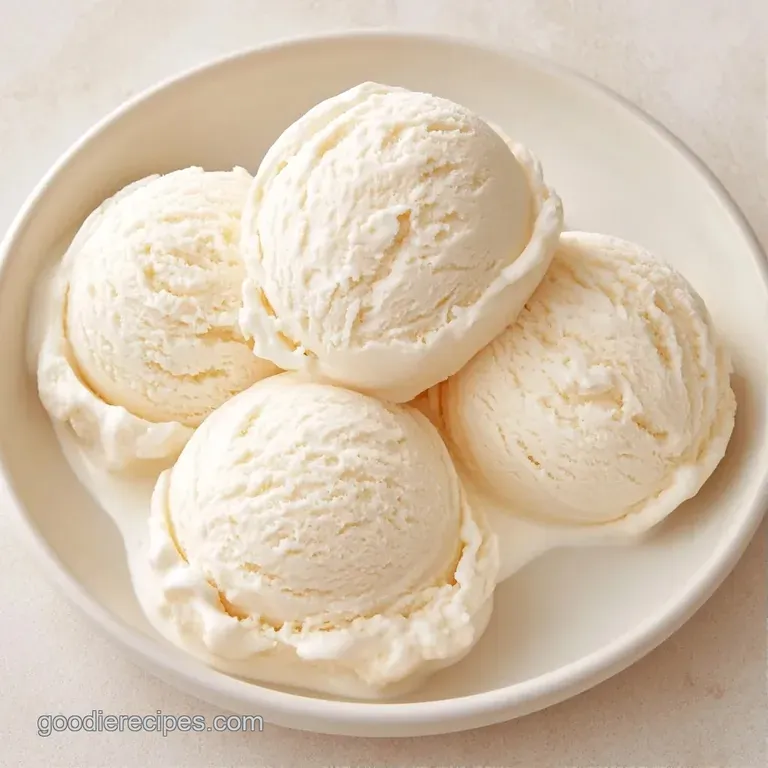
You'll get a smooth, thick result that holds its shape on a plate. This Vanilla Ice Cream is a great starting point for any mix in you can think of, from crushed cookies to fresh berries.
Why the Texture Works
- Cold Base: Chilling the mix for 2 hours prevents large ice crystals from forming, keeping the mouthfeel smooth.
- Fat Ratio: Using a heavy dose of cream slows down the freezing process, which results in a denser scoop.
| Method | Time | Texture | Best For |
|---|---|---|---|
| Ice Cream Maker | 20 mins | Airy and smooth | Classic consistency |
| Manual Stirring | 3 hours | Denser and fudgy | No equipment homes |
Shopping List Breakdown
| Component | Purpose | Substitute Notes |
|---|---|---|
| Heavy Cream | Provides richness | Coconut cream: Thicker, adds tropical flavor |
| Whole Milk | Balances density | Half and half: Makes it even richer |
| Granulated Sugar | Sweetens and softens | Honey: Changes flavor, makes it stickier |
| Vanilla Extract | Primary flavor | Vanilla bean paste: Adds tiny black specks |
- 2 cups heavy cream
- 1 cup whole milk
- 3/4 cup granulated sugar Why this? It dissolves quickly and doesn't alter the flavor.
- 1 tbsp pure vanilla extract Why this? high-quality extract gives a cleaner taste than imitation.
- 1/4 tsp fine sea salt Why this? Salt cuts through the fat to make the vanilla pop.
Essential Kitchen Tools
Basic home equipment is all you need. A large mixing bowl and a whisk are the primary tools required. If you are using an ice cream maker, verify that the bowl has spent at least 24 hours in the freezer. Otherwise, a shallow, freezer safe container is ideal for the manual method.
I prefer using a silicone spatula to scrape the sides of the dish during manual stirring, as it is far more efficient than a spoon at breaking up icy crystals.
Step by step Method
- Pour the whole milk, granulated sugar, and salt into a large bowl.
- Whisk the mixture vigorously until the sugar crystals disappear and the liquid looks smooth.
- Stir in the heavy cream and vanilla extract. Note: Don't over whisk here or you'll create too many bubbles.
- Cover the bowl and refrigerate for 2 hours. Ensure the base is ice cold before proceeding.
- Pour the chilled liquid into your frozen ice cream maker bowl.
- Churn the mix for 20 minutes until it reaches a soft serve consistency.
- For the manual method, pour the base into a shallow container and freeze.
- Whisk the edges toward the center every 30 minutes for 3 hours. Note: This mimics the aeration of a machine.
- Transfer the mix to an airtight tub.
- Press parchment paper onto the surface and freeze 4 hours until firm and scoopable.
Fixing Common Texture Issues
If your scoop feels like a popsicle, you likely have too many ice crystals. This usually happens if the freezer is too warm or the base wasn't chilled enough. To prevent this, always use a shallow container so the mix freezes faster.
Another common problem is graininess. This happens when the sugar isn't fully dissolved before freezing. If you notice crystals, you can quickly warm the base on the stove before chilling it again, but it's easier to just whisk longer at the start.
Grainy Sugar Texture
This occurs when sugar isn't fully integrated into the milk. Whisk the initial mixture for an extra minute before adding the cream.
Icy Edges
Too much air or slow freezing causes ice buildup. Use the parchment paper trick to seal out the air.
Too Hard to Scoop
Home freezers are often colder than commercial ones. Let the tub sit on the counter for 10 minutes before digging in.
| Problem | Fix |
|---|---|
| Icy texture | Chill base longer before freezing |
| Grainy mouthfeel | Whisk sugar until fully dissolved |
| Rock hard | Soften at room temp for 10 mins |
Fun Flavor Twists
If you want to change things up, you can fold in extras during the last 5 minutes of churning. For a little crunch, toss in toasted walnuts or chocolate chips. If you're feeling fancy, this base pairs well with a slice of baked cheesecake for a decadent platter.
For a different vibe, try adding a tablespoon of cocoa powder to the sugar step. It turns this into a rich chocolate treat that goes great with glazed donuts.
- Extra rich? → Use 2 cups cream and 0.5 cup milk
- Minty flavor? → Add 1/2 tsp peppermint extract
- Nutty twist? → Fold in 1/4 cup almond butter
| Premium Ingredient | Budget Option | Impact | Savings |
|---|---|---|---|
| Vanilla Bean Pod | Pure Extract | Less visual specks | High |
| Organic Heavy Cream | Store Brand | Negligible difference | Medium |
| Sea Salt Flakes | Table Salt | Slightly less nuance | Low |
Freezing and Storage Tips
Keep your ice cream in a sealed tub in the freezer for up to 2 weeks. To stop freezer burn, make sure the parchment paper is touching the surface of the ice cream. This blocks the cold air from drying out the top layer.
For zero waste, don't toss your empty vanilla extract bottle. I often fill mine with a bit of vodka and a cinnamon stick to make a quick homemade infusion for other desserts.
Serving Your Dessert
The best way to enjoy this is in a chilled bowl. This prevents the edges from melting too fast while you're searching for a spoon. Top it with a drizzle of honey or some fresh berries for a bit of acidity.
Since this is a dense recipe, it works great as a base for milkshakes. Just toss two scoops into a blender with a splash of milk and a handful of ice. It stays thick and velvety without needing extra syrups.
Ice Cream Truths
Many people think you need a machine for "real" ice cream. That's not true. Manual stirring works, it just takes more arm strength to break up the crystals.
Another myth is that low-fat milk works just as well. It doesn't. The fat in the cream is what stops the ice crystals from growing, so skipping it leads to a grainy, icy result. According to USDA FoodData Central, the fat content in heavy cream is what provides that signature mouthfeel.
Recipe FAQs
How to make a simple vanilla ice cream?
Whisk milk, sugar, and salt until the sugar dissolves. Stir in heavy cream and vanilla, chill for 2 hours, then churn for 20 minutes or freeze manually.
Can I make this without a machine?
Yes, by manual stirring. Pour the chilled base into a shallow container and whisk the edges toward the center every 30 minutes for the first 3 hours.
Is it true that a professional churner is required for creamy texture?
Surprisingly, no. Frequent whisking during the initial freezing process breaks up ice crystals, achieving a similar smoothness to a machine.
What is the best way to serve this?
Pair it with a decadent topping. A drizzle of brown butter caramel adds a nutty contrast to the sweet vanilla base.
Creamy Vanilla Ice Cream