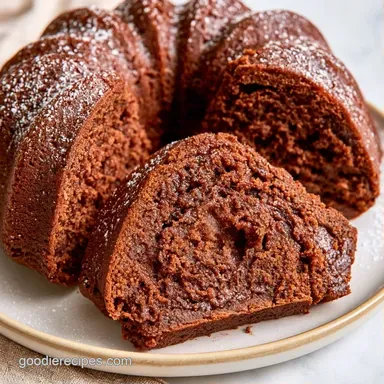
Easy Chocolate Bundt Cake with Oil
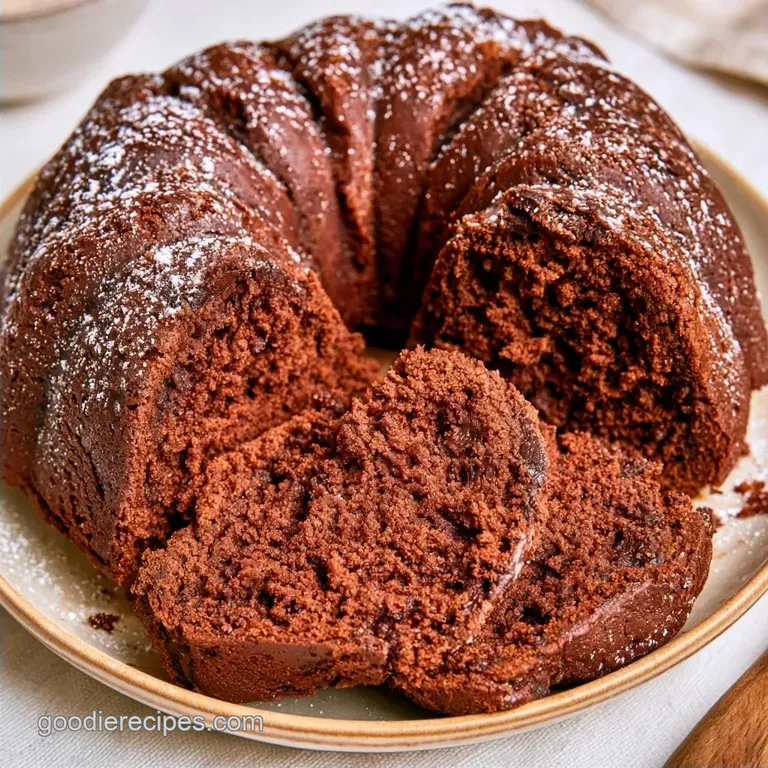
- Time: 25 min active + 45 min bake
- Flavor/Texture Hook: Rich, dark cocoa with a tender crumb
- Perfect for: Family Sunday dinners or potlucks
Few things are as comforting as the scent of cocoa filling the air. Yet, for a long time, Bundt pans intimidated me. I’d spend an hour prepping everything, only to have the cake stick to the sides, resulting in a jagged mess that looked more like a ruin than a treat.
You might hear that expensive European butter or a professional kitchen are required for a truly rich cake. Truthfully, that's a myth. You can achieve a bakery quality crumb using basic pantry items and a couple of simple tricks with the batter.
This Easy Chocolate Bundt Cake highlights the pairing of a moist, tender interior and a shiny chocolate coating. It’s a timeless family favorite that doesn’t require any special skills or a stand mixer.
Why Most Recipes Get This Wrong
Most people treat chocolate cake like a standard vanilla cake, but cocoa behaves differently. If you just mix it in cold, you miss out on the intensity of the chocolate.
Blooming the Cocoa: Adding boiling water at the end dissolves the cocoa clumps and releases the flavor. This is similar to how a moist homemade chocolate cake gets its depth.
Oil Over Butter: Butter tastes great, but it hardens when the cake cools. Oil keeps the crumb tender and moist even after it spends a few days in the fridge.
Buttermilk Acidity: The acid in buttermilk reacts with baking soda to create a lift. This prevents the cake from becoming a dense brick.
| Method | Time | Texture | Best For |
|---|---|---|---|
| Oven | 45 mins | Light & Airy | Classic celebrations |
| Stovetop (Steamed) | 60+ mins | Dense & Fudgy | Humidity heavy climates |
Gathering Your Essentials
For the batter, we use Dutch process cocoa because it's less acidic and gives the cake a darker, more intense color. If you only have natural cocoa, it still works, but the color will be lighter.
The vegetable oil is there for texture. Don't be tempted to swap it for a low-fat alternative or you'll lose that moist mouthfeel. The boiling water is the final touch that thins the batter, which helps it flow into every corner of the Bundt pan.
For the ganache, semi sweet chocolate chips are the easiest way to go. They melt evenly and provide a nice balance to the sugar in the cake.
Recipe Specs
This recipe makes 14 generous slices. Each piece is rich, so a little goes a long way.
- Preparation
- 25 minutes
- Cooking
- 45 minutes
- Total Time
- 80 minutes
- Oven Temp
- 350°F (175°C)
Equipment Needed
You'll need a standard 10 or 12 cup Bundt pan. If you have a non stick one, that's great, but you still need to grease it.
A large mixing bowl and a whisk are the main tools. While you can use a hand mixer, a whisk and some elbow grease work just fine for this Easy Chocolate Bundt Cake. For the ganache, a microwave safe bowl or a small saucepan will do the trick.
Key Steps
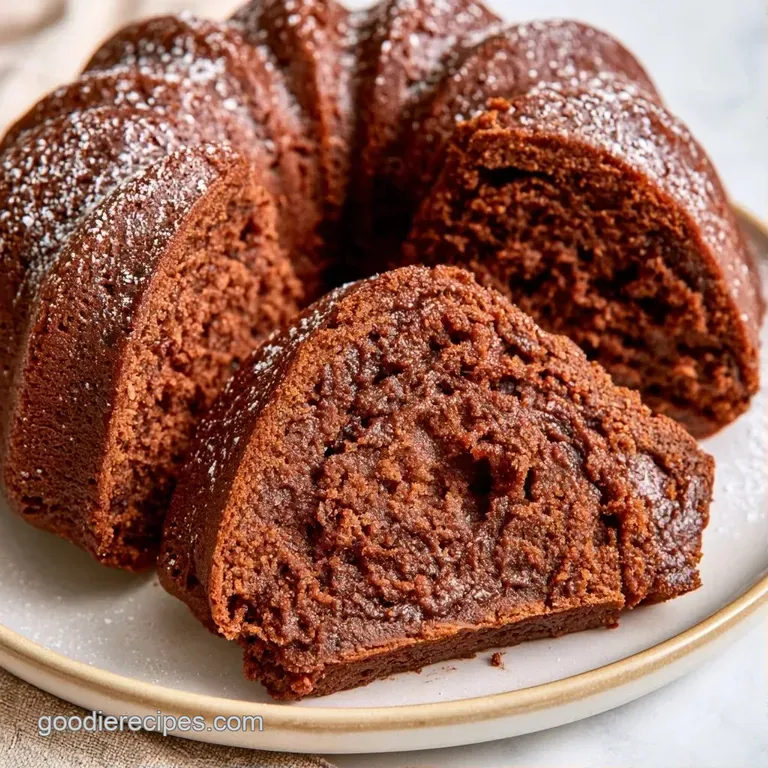
Phase 1: Pan Preparation
Set your oven to 350°F (175°C). Coat the Bundt pan with baking spray or softened butter. Dust the interior with a tablespoon of cocoa powder, shaking out any excess. Note: This avoids white flour streaks on your dark cake.
Phase 2: Mixing Dry Ingredients
In a large bowl, whisk the flour, cocoa, sugar, baking powder, baking soda, and salt. Ensure there are no large cocoa lumps.
Phase 3: Adding Wet Ingredients
Incorporate the eggs, buttermilk, oil, and vanilla into the dry mixture. Beat on medium speed for 2 minutes until the mixture is glossy and fully blended.
Phase 4: The Hot Finish
Stir in the boiling water by hand. Note: It is normal for the batter to be very thin, almost like a soup.
Phase 5: The Bake
Transfer the batter into the pan. Bake for 40-45 minutes until a wooden skewer comes out with just a few moist crumbs.
Phase 6: The Cool Down
Let the cake rest in the pan for exactly 10 minutes, then gently invert it onto a wire rack to cool. Note: Flipping too soon may cause it to break, while waiting too long can make it stick.
Phase 7: Making Ganache
Melt semi sweet chocolate chips together with heavy cream. Stir until the liquid is dark and smooth.
Phase 8: Finishing Touch
Pour the ganache over the cooled cake, allowing it to drip down the sides.
Fixing Common Problems
If your cake doesn't come out right, it's usually a temperature or prep issue. For example, if the cake sinks in the middle, you might have opened the oven door too early, letting out the heat.
Another common issue is a dense crumb. This usually happens if the baking soda is old or if you overmixed the batter after adding the flour. Trust the 2 minute mixing window and no more.
Fixing Sticking Issues
The most common headache with an Easy Chocolate Bundt Cake is the "stuck" piece. This happens if the center tube wasn't greased well.
Fixing Texture Gaps
A grainy texture usually means the sugar didn't dissolve or the eggs were too cold, preventing a proper emulsion.
| Problem | Fix |
|---|---|
| Cake stuck in pan | Grease with butter AND dust with cocoa |
| Sinking center | Don't open oven until 35-40 mins |
| Dense/Heavy crumb | Check expiration date of baking soda |
Right then, let's clear up a few things people often get wrong about baking these.
First, some believe you must sift the cocoa powder. While it helps, a good whisking session does the same thing. Second, many think you can't use coffee. You actually can swap the boiling water for hot coffee to make the chocolate taste even stronger.
Finally, don't believe the myth that you need to grease the pan with shortening only. Butter and cocoa powder work just as well and taste better if a little bit bakes into the crust.
Storage and Reheating
This Easy Chocolate Bundt Cake stays moist for quite a while. Store it in a sealed container on the counter for 3 days.
For a longer shelf life, keep it chilled in the refrigerator for 5 days. Because we used oil, it doesn't get as firm as cakes made with butter. To freeze, wrap slices individually in foil and transfer them to a freezer bag for 2 months.
To reheat a slice, microwave it for 10-15 seconds. This softens the ganache and brings back that fresh baked aroma. If you have extra ganache, try drizzling it over fresh berries or a piece of toast.
Serving Suggestions
I recommend a dollop of unsweetened whipped cream to balance the richness. A few fresh raspberries or a sliced strawberry on top add a professional, bakery style touch.
For a truly decadent experience, serve a warm slice with a scoop of vanilla bean ice cream. The way the ice cream melts into the warm chocolate is a timeless pairing.
When sharing this with a crowd, cut the cake into thin slices. Because this Easy Chocolate Bundt Cake is so dense and rich, smaller portions are more manageable for your guests.
Twists and Swaps
For an extra treat, stir 8 oz of mini chocolate chips into the batter before baking to create gooey pockets of melted chocolate in every slice.
To make this dairy-free, replace the buttermilk with an equal amount of soy milk combined with a tablespoon of lemon juice. Let the mixture rest for 5 minutes before stirring it into the batter.
You might try a Classic Pumpkin Pie for a seasonal twist, but this chocolate recipe remains the ultimate crowd pleaser.
Decision Shortcut:
- For a more intense flavor: use hot brewed coffee instead of boiling water.
- For a sturdier crumb: reduce the boiling water by 2 tablespoons.
- For a high gloss finish: heat the heavy cream until it just begins to bubble before pouring it over the chocolate.
Substitution Guide:
| Original Ingredient | Substitute | Why It Works |
|---|---|---|
| Buttermilk (1 cup) | Whole milk + 1 tbsp Lemon juice | Simulates the acidity of buttermilk. Note: slightly less tangy |
| Vegetable Oil (1/2 cup) | Melted Coconut Oil | Similar fat profile. Note: adds a faint coconut hint |
| Dutch process Cocoa | Natural Cocoa Powder | Still works. Note: cake will be lighter in color and more acidic |
Trust me, once you master the pan preparation, this Easy Chocolate Bundt Cake will become the most requested dessert at every gathering. It's rich, honest, and exactly what a great cake should be. Let's get started and begin baking.
Recipe FAQs
What is the secret to a perfect Bundt cake?
Grease the pan thoroughly and use boiling liquid. This ensures the cake releases cleanly and has a deep, moist crumb.
How to keep the cake from sticking?
Grease with butter and dust with cocoa powder. Tap out the excess before adding batter and cool in the pan for exactly 10 minutes before inverting.
Is it true that adding boiling water makes the cake collapse?
Actually, no. The hot liquid blooms the cocoa for a more intense flavor and results in a more tender texture.
Can individual slices be frozen?
Yes, wrap them in foil. Keep these in a freezer safe bag for as long as 2 months. If you enjoyed this simple treat, you might also love our homemade donuts.
Why use buttermilk in this recipe?
It provides acidity for a tender crumb. The acid reacts with the baking soda to ensure the cake rises properly and stays moist.
Easy Chocolate Bundt Cake