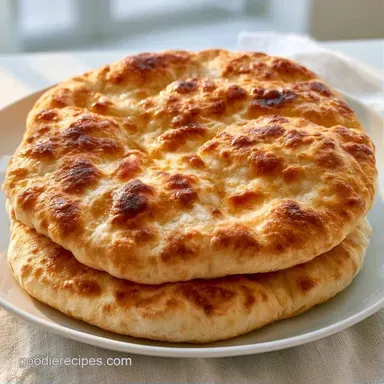
Fluffy Easy Homemade Pita Bread
- Time: 25 min active + 60 min rising
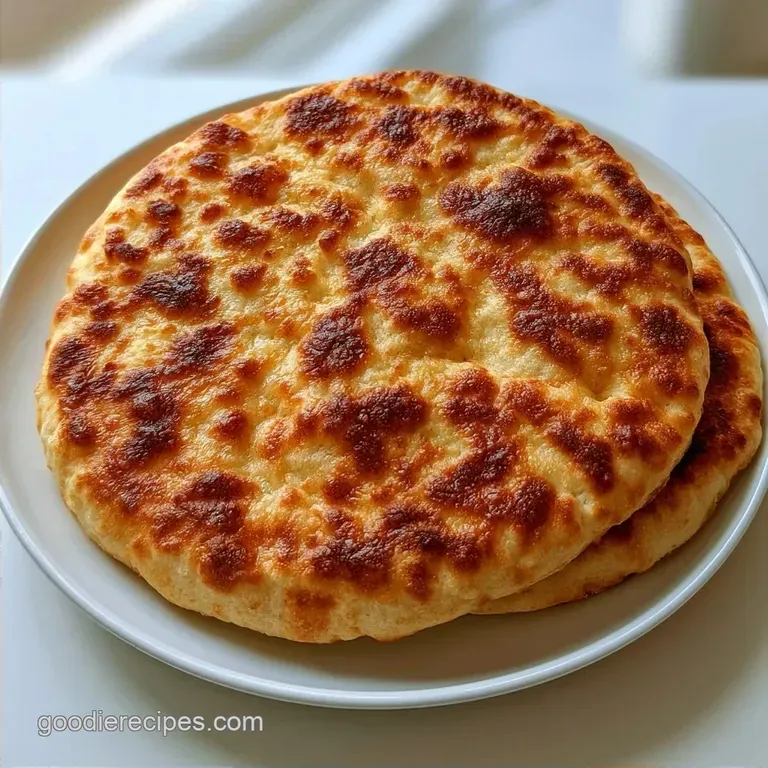
- Flavor/Texture Hook: Charred golden spots and a pillowy center
- Perfect for: Greek night, hummus dipping, or healthy sandwiches
Easy Homemade Pita Bread
Hear that? It's the sound of dough hitting a scorching skillet and immediately sizzling. For a long time, I thought you needed a stone oven or some fancy tandoor to get that classic pocket. I honestly believed the "puff" was some magic trick only professional bakers knew.
Turns out, it's just about the heat. When the dough hits a hot pan, the water inside turns to steam instantly, pushing the bread apart. That's how you get that hollow center without any complicated gear.
This Easy Homemade Pita Bread is a bold addition to any meal. It's a contrast of textures, with a slight crisp on the outside and a soft, airy interior. You'll see that making it from scratch is way more rewarding than the store-bought versions that often feel like cardboard.
Why the Dough Puffs
The puff happens because of rapid steam expansion. When the dough hits a hot pan, the moisture flashes into steam, forcing the two layers apart before the bread sets.
High Heat: A scorching pan creates the pressure needed to lift the top layer. Gluten Rest: Letting the rolled dough sit for 10 minutes prevents it from shrinking back, which lets the steam do its job.
| Feature | Freshly Made | store-bought |
|---|---|---|
| Texture | Pillowy and soft | Often dry or chewy |
| Flavor | Yeasty and buttery | Bland or preservative heavy |
| Wide and airy | Small or non existent |
Ingredients for Bold Flavor
Honey isn't just for sweetness here; it helps the dough caramelize faster in the pan to create those signature charred spots. Olive oil ensures a tender crumb, while instant yeast provides a quick and dependable rise.
| Original Ingredient | Substitute | Why It Works |
|---|---|---|
| All purpose Flour (3 cups) | Bread Flour | More protein. Note: Results in a chewier texture |
| Honey (1 tsp) | Maple Syrup | Similar sugar levels. Note: Adds a subtle woody hint |
| Olive Oil (1 tbsp) | Melted Butter | Same fat content. Note: Gives the bread a richer flavor |
- 3 cups (375g) all purpose flour Why this? Ideal gluten levels for a pocket that is both soft and strong
- 1 cup (240ml) warm water Why this? Wakes up the yeast without damaging it
- 2 ¼ tsp (7g) instant yeast Why this? Can be used without pre-dissolving
- 1 tsp (6g) salt Why this? Controls the rise and adds depth to the taste
- 1 tbsp (12g) olive oil Why this? Gives the dough better elasticity
- 1 tsp (5g) honey Why this? Feeds the yeast and promotes browning
The Right Gear
You don't need a bakery, but the pan matters. A cast iron skillet is the gold standard here because it holds heat better than anything else. If you use a thin non stick pan, the temperature drops the second the dough hits, and you'll lose your pocket.
A rolling pin is essential for getting that uniform 1/4 inch thickness. If one side is too thick, the steam can't push through. I also suggest using a clean kitchen towel to wrap the finished pitas, which keeps them from drying out.
Cooking step by step
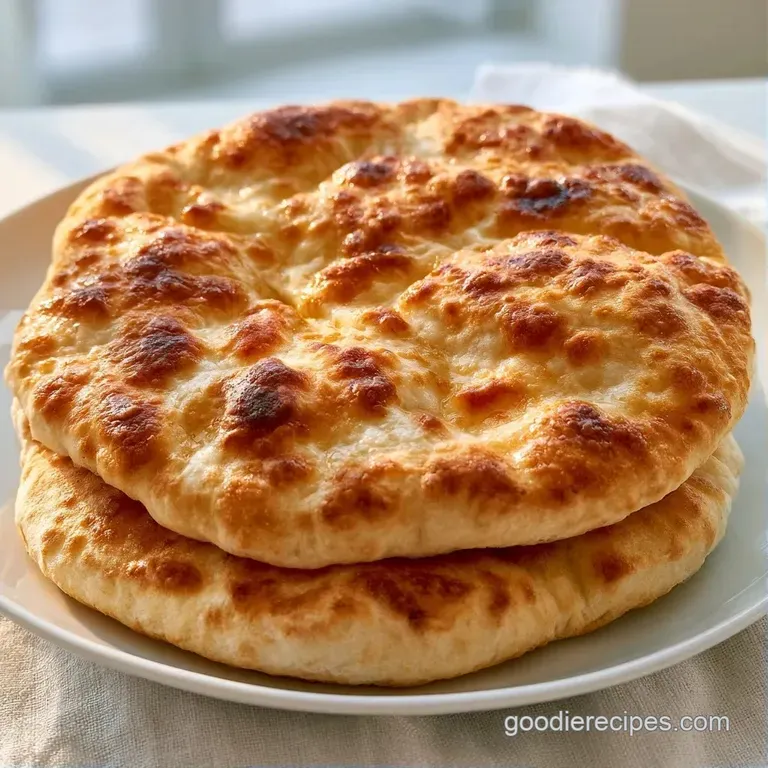
Let's get into the Easy Homemade Pita Bread process. Trust me, the resting phases are just as important as the cooking.
Phase 1: Mixing and First Rise
- Whisk flour, instant yeast, and salt in a large bowl.
- Stir in warm water, olive oil, and honey with a wooden spoon until a shaggy dough forms.
- Knead the dough on a floured surface for 3-5 minutes until it feels smooth and elastic.
- Place in a greased bowl, cover with a damp cloth, and let rise for 60 minutes until it doubles in size.
Phase 2: Shaping the Pitas
- Punch the dough down and divide into 8 equal balls.
- Roll each ball into a 6 inch circle, about 1/4 inch thick. Note: Don't press too hard or you'll pop air bubbles
- Let the circles rest for 10 minutes until the dough stops springing back.
Phase 3: The over High heat Sear
- Heat a cast iron skillet over medium high until a drop of water sizzles and dances immediately.
- Lay one pita in the dry pan. Cook for 30 seconds until tiny bubbles appear.
- Flip and cook for 1-2 minutes until golden brown spots form.
- Flip again and gently press the edges until the pita inflates like a balloon.
- Wrap immediately in a clean towel to steam soften the crust.
Chef's Tip: If you have a kitchen scale, weigh each dough ball to 70g. This ensures every pita puffs at the same rate.
Fixing Common Issues
Sometimes the dough doesn't cooperate. Usually, it's a temperature problem. If your pan isn't hot enough, the dough just cooks through without creating that steam gap.
Pitas Not Puffing
This happens if the pan is too cool or the dough was rolled too thin. Ensure the water sizzles violently before adding the bread.
Bread Too Tough
Over kneading or skipping the 10 minute rest makes the gluten too tight. This prevents the bread from expanding.
Burnt Bottoms
Your heat is too high. Dial it back slightly and ensure you're flipping at the 30 second mark.
| Problem | Fix |
|---|---|
| No pocket | Increase pan heat |
| Rubbery texture | Let dough rest longer |
| Dry crust | Wrap in towel immediately |
Creative Dough Variations
After you've mastered the basic pita recipe, feel free to experiment with different flavors. I enjoy mixing in a teaspoon of garlic powder and some dried oregano for a Greek inspired twist. For a more rustic, earthy taste, swap one-third of the white flour for whole wheat.
You can apply these same mixing methods to make homemade flour tortillas, although those won't puff up from the high heat. To achieve a richer texture, stir a tablespoon of Greek yogurt into your wet ingredients.
| Goal | What to change |
|---|---|
| Herby flavor | Add 1 tsp dried oregano |
| Nutty taste | Use 1 cup whole wheat flour |
| Extra soft | Add 1 tbsp Greek yogurt |
Storing Your Bread
Fresh is ideal, but these can be saved for later. Store them in an airtight bag at room temperature for 2 days. For a longer shelf life, keep them frozen for 3 months.
When warming them up, avoid the microwave so they don't turn gummy. Instead, lightly dampen the pita with a few drops of water and sear it in a pan for 30 seconds. I use this same method for buttery crescent rolls to maintain a fresh baked feel.
To prevent waste, use stale pitas for chips. Slice into triangles, toss with salt and olive oil, and bake at 350°F for 8 minutes until crisp.
Pairing Your Pitas
This Easy Homemade Pita Bread is a fantastic companion for bold dips. I typically serve mine alongside a spread of baba ganoush, hummus, and tzatziki. The smoky, charred notes of the bread provide a great contrast to the creamy richness of the appetizers.
To turn it into a full meal, fill the pockets with sliced cucumbers, red onions, grilled chicken, and a touch of tahini. The combination of warm pita and crisp, cold salad is what makes the dish. As per USDA advice, always confirm your meat reaches a safe internal temperature of 165°F.
If you want to mix things up, try a breakfast variation. Fill your pita with scrambled eggs, sautéed spinach, and feta. It makes for a handheld breakfast that is far more satisfying than a basic wrap.
You are now ready to start your Easy Homemade Pita Bread. Just keep in mind: use a hot pan, allow the dough to rest, and wrap the pitas securely. Your taste buds will definitely appreciate it.
Recipe FAQs
How to make a quick pita bread?
Mix flour, instant yeast, and salt before adding warm water, oil, and honey. Knead for 3-5 minutes, let rise for 60 minutes, and cook in a hot skillet.
What makes a pita bread puff up perfectly?
Heat your cast iron skillet until a drop of water sizzles and dances immediately. This intense heat creates the steam that pushes the center up.
Is making pita bread at home difficult?
It is very simple and uses basic pantry staples. Most of the process is just waiting for the dough to double in size.
Which dishes pair well with these pitas?
These pitas are excellent when served with a classic Greek salad. The salty feta and crisp vegetables complement the warm bread.
Does pita bread require a professional oven to puff?
Not true. A medium high heat skillet works perfectly to create the pocket as long as the pan is sufficiently hot.
Easy Homemade Pita Bread