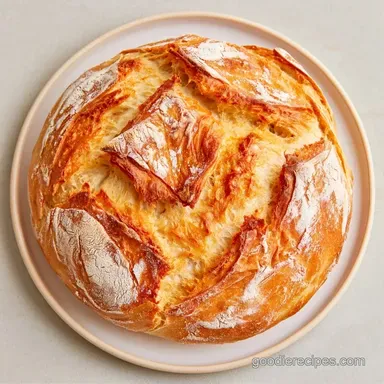
No Knead Crusty White Bread: Bakery Style
- Time: 5 min active + 19 hours 10 mins resting
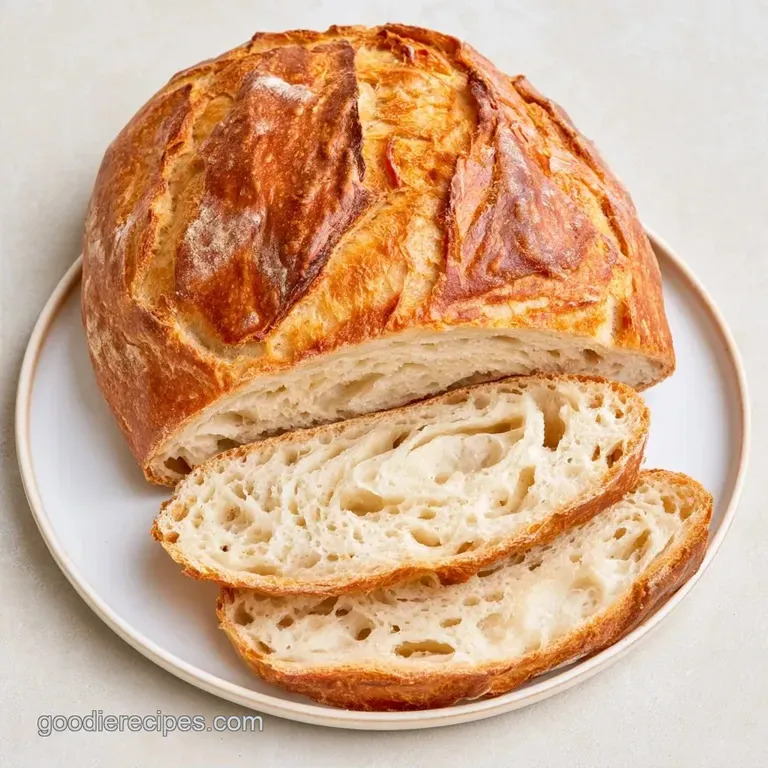
- Flavor/Texture Hook: Shattering mahogany crust with an airy, chewy center
- Perfect for: Beginners who want a fancy loaf with zero stress
No Knead Crusty White Bread
Nothing beats the aroma of a warm loaf on the counter to rouse everyone in the home. I once believed crafting artisan bread took a special gift or years of training, but the secret is simply patience. All it takes is a bowl, a spoon, and plenty of time.
The key to this No Knead Crusty White Bread is the choice of flour. I prefer all-purpose for its availability and the softer texture it provides compared to bread flour. While many assume high protein is essential for a great rise, the extended fermentation period does the heavy lifting here.
The result is a rustic loaf reminiscent of a French bakery, complete with characteristic bubbles on the crust and a hollow thud when tapped on the base. It is a slow process, but requires almost no active work.
The Long Wait Benefit
- Slow Fermentation: Letting the dough sit for 12 to 18 hours allows enzymes to break down starches into sugars, which feeds the yeast naturally.
- Self Kneading: Over time, the gluten bonds form on their own through hydration, removing the need to punch or fold the dough.
| Method | Time | Texture | Best For |
|---|---|---|---|
| Fresh Kneaded | 3 hours | Dense & Uniform | Sandwiches |
| No Knead | 19 hours | Airy & Open | Dinner Sides |
| Quick Yeast | 2 hours | Soft & Spongy | Burger Buns |
Quick Bread Specs
Here is the timing breakdown. Although the total duration is extensive, you'll only spend five minutes of active effort; the remainder is simply letting the yeast work.
- Active Time:5 minutes
- Bake Time:40 minutes
- Total Time:19 hours 15 mins
- Temperature:450°F (230°C)
What You'll Need
Before we get into the list, here is why these specific parts matter.
| Ingredient | What It Does | Best Swap |
|---|---|---|
| AP Flour | Provides structure | Bread flour (chewier result) |
| Sea Salt | Controls yeast & adds flavor | Kosher salt |
| Instant Yeast | Makes the bread rise | Active dry (must bloom first) |
| Warm Water | Activates yeast & hydrates | Lukewarm water |
- 3 cups (390g) all purpose flour Why this? Balance of strength and tenderness
- 1.5 tsp (9g) fine sea salt Why this? Enhances the wheat flavor
- 0.5 tsp (2g) instant yeast Why this? Faster action, no proofing needed
- 1.5 cups (355ml) warm water Why this? Helps yeast activate quickly
Necessary Kitchen Tools
No high end equipment is required here. I often use a standard stand mixer like a KitchenAid for other tasks, but for this specific loaf, a strong spoon does the trick.
- Large mixing bowl
- Plastic wrap or a damp towel
- Parchment paper
- Dutch oven (cast iron is best)
- Oven safe mitts
From Prep to Plate
Phase 1: Mixing the Shaggy Dough
Whisk together the flour, salt, and instant yeast in your bowl. Pour in the warm water and stir with a spoon until no dry flour remains. The dough should look shaggy and clumpy, not smooth.
Phase 2: The Long Sleep
Cover the bowl tightly with plastic wrap. Leave it on your counter at room temperature for 12 to 18 hours. It's ready when the dough has more than doubled in size and the surface is dotted with bubbles.
Phase 3: Shaping and Final Proof
Preheat the oven to 450°F (230°C) with the empty Dutch oven inside. Turn the dough onto a floured surface and gently fold the edges toward the center to form a rough ball. Place it on parchment paper and let it rest for 30 minutes.
Phase 4: The over High heat Bake
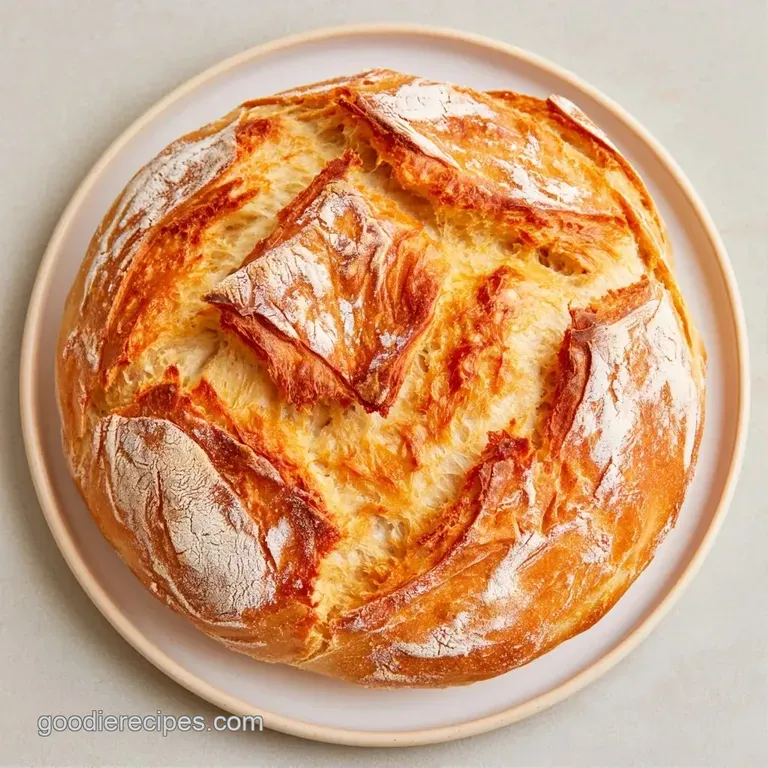
Lift the parchment and dough into the hot Dutch oven. Cover with the lid and bake for 30 minutes. Remove the lid and bake another 10-15 minutes until the crust is a deep mahogany color and sounds hollow when tapped.
Fix Common Loaf Issues
If your loaf didn't turn out quite right, it usually comes down to the yeast or the heat. If the dough didn't rise, your yeast might be expired. King Arthur Baking suggests testing yeast in warm water with a pinch of sugar to see if it foams.
Another common issue is a burnt bottom. This happens if the pot is too thin or the oven runs hot. Placing a baking sheet on the rack below the pot can help shield the bottom from direct heat.
| Problem | Root Cause | Solution |
|---|---|---|
| Dough didn't rise | Dead yeast or water too hot | Use fresh yeast; keep water under 130°F |
| Flat loaf | Over proofed (left too long) | Bake at the 12 hour mark |
| Gummy interior | Cut too soon after baking | Cool completely on a wire rack |
Fun Flavor Twists
You can easily change the profile of this loaf. For a savory kick, stir in a handful of dried rosemary or garlic powder during the initial mix. If you want something different, you can check out my Homemade Bread Recipe No Knead for more basic variations.
For those who want a different texture, try substituting a half cup of flour with whole wheat. Note that this will make the loaf denser and may require an extra tablespoon of water.
| Loaves | Flour | Water | Salt |
|---|---|---|---|
| 1 Loaf | 390g | 355ml | 9g |
| 2 Loaves | 780g | 710ml | 18g |
- For a crispier crust
- bake 5 mins longer without the lid.
- For a softer crumb
- reduce water by 1 tablespoon.
- For a tangier taste
- leave dough for 20 hours instead of 12.
Keeping Bread Fresh
Store the loaf in a paper bag or wrap it in a clean cloth for the first 24 hours. Avoid using plastic bags while the bread is fresh, as they trap humidity and ruin the crust's crunch. For leftovers, slice the bread and keep it in a sealed bag in the freezer for up to 3 months.
To reheat, simply use a toaster or a 350°F oven for 5 minutes. To reduce waste, turn old ends into croutons by tossing them with salt and olive oil and baking at 375°F for 10 minutes.
Great Ways to Serve
This bread is the kind of thing that makes a simple meal feel special. I love serving it warm with salted butter and a bit of honey. It also works as the base for Garlic Homemade Bread if you want to add a buttery, pungent layer.
Try it alongside a hearty stew or use it to mop up the sauce from a pasta dish. Since the crust is so sturdy, it holds up well to heavy dips like spinach artichoke or hummus.
Bread Truths
Some people think you need to punch the dough down to stop it from over rising. That's not true for this method. Punching the dough destroys the beautiful air pockets we spent 18 hours creating. Just fold it gently and get it in the oven.
Recipe FAQs
How do I make the bread crusty?
Bake the dough in a preheated Dutch oven at 450°F. The lid traps steam which prevents the crust from setting too early, allowing it to expand and crisp.
Why did my loaf fail to rise?
Check your water temperature to ensure it isn't boiling. Water that is too hot kills the yeast, which stops the dough from doubling in size during the long soak.
Is it true that you must knead the dough for it to rise?
No, and here's why. The long fermentation period allows gluten bonds to form naturally through hydration, removing the need for manual kneading.
What is the secret to the mahogany color?
Bake the loaf uncovered for the final 10 to 15 minutes. This exposes the surface to direct heat, caramelizing the sugars in the flour.
Can I use a different pan instead of a Dutch oven?
Use a heavy pot with a tight lid to mimic the steam environment. If you prefer making simpler yeast breads without a pot, try our toasting bread.
No Knead Crusty White Bread