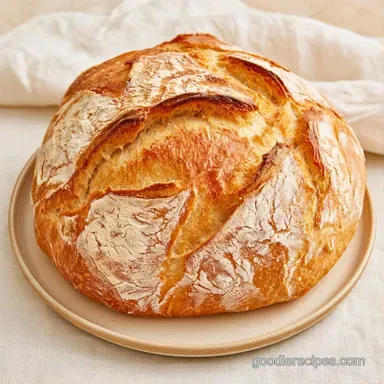
Easy Yeast Bread Recipe: No-Knead
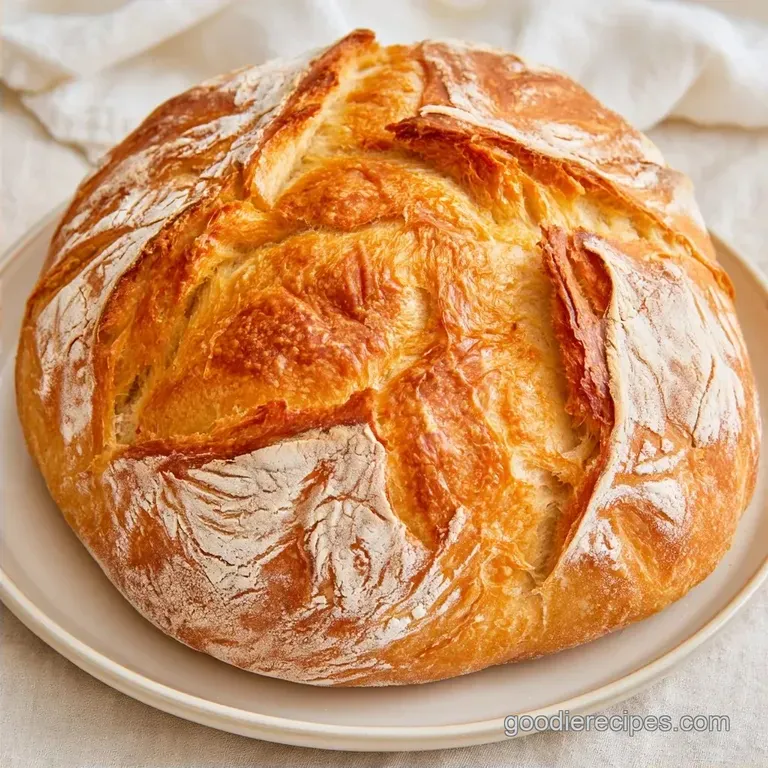
- Time: 10 min active + 3 hours 40 mins resting/baking
- Flavor/Texture Hook: Shattering mahogany crust with a velvety interior
- Perfect for: Weekend brunch or beginners who hate kneading
That smell of warm yeast and toasted grain hitting the kitchen is the best part of the morning. But for a long time, my home loaves were a disaster. I kept getting these dense, rubbery bricks that felt more like doorstops than bread.
I thought I was just bad at it, or that I needed one of those expensive mixers to get the gluten right.
The truth is, I was overworking the dough and drying it out. Once I stopped fighting the sticky mess and let the time do the work, everything changed. You don't need a gym membership to bake a loaf, just some patience and a heavy pot.
This Easy Yeast Bread Recipe is the fix for anyone tired of heavy, tasteless bread. We're going for a rustic look with a crust that actually crackles when you touch it. It's simple, honest food that tastes like it came from a village bakery.
Easy Yeast Bread Recipe
High Hydration: More water in the dough creates steam, which makes those big, airy holes inside the loaf.
Long Rest: Letting the dough sit for hours replaces the need for kneading because the gluten organizes itself naturally.
Preheated Pot: A scorching Dutch oven mimics a professional steam oven, pushing the bread up quickly before the crust sets.
| Method | Time | Texture | Best For |
|---|---|---|---|
| Standard Tray | 3 hours | Softer, thinner crust | Sandwich loaves |
| Dutch Oven | 3 hours 50 mins | Thick, crunchy crust | Rustic artisan loaves |
It's a fair trade to wait an extra few minutes for that crunch. I've tried it both ways, and the pot always wins.
The Ingredient List
| Ingredient | What It Does | Best Swap |
|---|---|---|
| All Purpose Flour | Provides the structure | Bread flour (for more chew) |
| Instant Yeast | Makes the dough rise | Active Dry Yeast (needs blooming) |
| Salt | Controls yeast and adds flavor | Sea salt |
| Sugar | Feeds yeast and helps browning | Honey (adds floral notes) |
- 3 cups (375g) all purpose flour Why this? Keeps the crumb tender and accessible
- 1.5 cups (355ml) warm water Why this? Activates yeast without killing it
- 2.25 tsp (7g) instant yeast Why this? No need to dissolve in water first
- 1.5 tsp (9g) salt Why this? Essential for a non bland taste
- 1 tsp (4g) sugar Why this? Speeds up the initial rise
Simple Tools Used
The equipment required is minimal. A large mixing bowl and a sturdy spatula are all you need to get started. You'll also want some parchment paper to prevent the dough from sticking to the pot.
The only specialized tool is a Dutch oven with a lid, though any heavy, oven safe pot with a tight seal will work just as well. The goal is to trap steam during baking, which keeps the crust moist and allows the bread to expand fully.
Steps for Baking
- Combine the flour, instant yeast, salt, and sugar in a large mixing bowl. Note: Stirring dry ingredients first helps prevent yeast clumps
- Mix in the warm water with a spatula until a sticky, shaggy dough develops and no dry bits remain.
- Seal the bowl with plastic wrap or a damp cloth and let it sit in a warm place for 2 to 3 hours until it doubles in size.
- Preheat your oven to 450°F (230°C) with the lid on the Dutch oven already inside.
- Transfer the dough to parchment paper. Use floured hands to carefully fold the sides inward into a rustic ball.
- Using the parchment, lift and place the dough into the hot pot, seam side up.
- Bake with the lid on for 30 minutes until the steam has puffed the loaf.
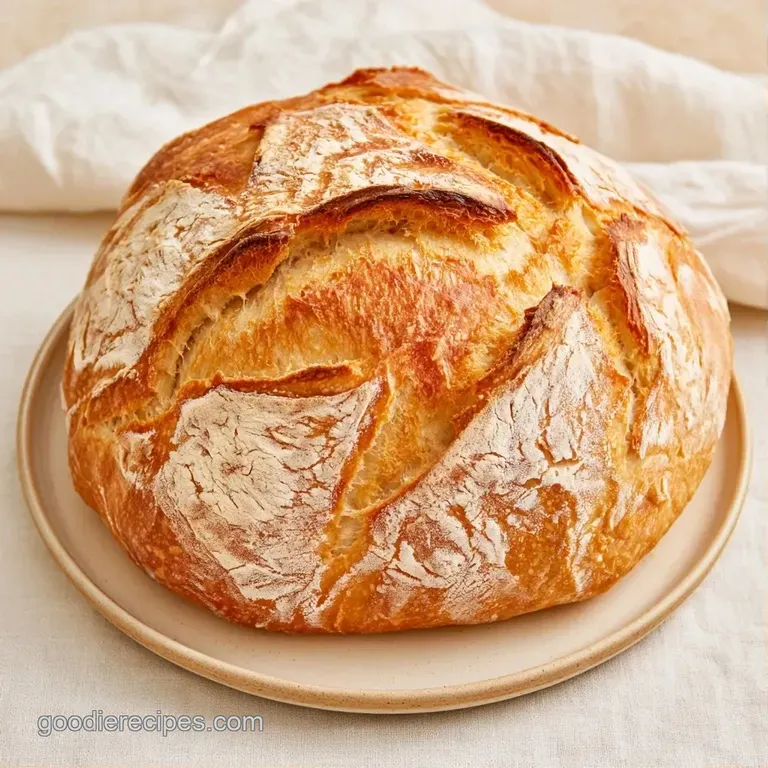
- Remove the lid and bake for an additional 10-12 minutes until the crust is a deep mahogany brown.
- Tap the base of the bread; it should sound hollow when finished.
Fixing Dough Problems
If your dough feels like a puddle or won't budge, don't panic. Most issues come down to temperature. Yeast is a living thing, so if the water is boiling, you've killed it. If it's ice cold, it's just sleeping.
Rescuing a Flat Loaf
This usually happens if the yeast is old or the room is too chilly. If it hasn't risen after two hours, move the bowl to a warm oven (turned off) with the light on.
Handling Sticky Dough
Don't keep adding flour. The stickiness is what creates the airy texture. Just use floured hands to shape it quickly and get it into the pot.
Preventing Burnt Bottoms
If the bottom browns too fast, slide a baking sheet onto the rack below the pot. This blocks some of the direct heat from the oven floor.
| Problem | Fix |
|---|---|
| Dough didn't rise | Check yeast expiry or warm up the room |
| Crust too pale | Bake 5 mins longer without the lid |
| Bottom is burnt | Add a baking tray to the lower rack |
Taste Variations
Once you've got the hang of this, you can play with the flavors. I love adding a tablespoon of dried rosemary or some cracked black pepper to the dry mix. It turns a simple loaf into something that feels more like a meal.
If you want something even easier, you can check out this no knead bread recipe for a different approach to the rise. For those who prefer a sweeter vibe, you can replace the sugar with maple syrup, though the dough will be slightly wetter.
| Goal | What to change |
|---|---|
| Chewier crumb | Use bread flour |
| Nutty flavor | Replace 1/2 cup flour with rye |
| Faster rise | Increase warm spot temp |
Storage and Waste
Store your loaf in a paper bag at room temperature for roughly 2 days. Avoid using plastic bags while the bread is fresh, otherwise the crust can become soft and rubbery. If you have leftovers, slice them and keep the pieces in a sealed bag in the freezer for as long as 3 months.
To reheat, simply place a slice in the toaster or a hot oven for 5 minutes. To reduce waste, convert stale ends into homemade croutons. Toss them with olive oil, salt, and garlic, then bake at 350°F (180°C) for 10 minutes.
Serving Ideas
For the best experience, serve this warm, torn by hand and paired with a generous piece of salted butter. The real magic lies in the contrast between the crisp crust and the tender interior. It also serves as an excellent base for garlic homemade bread if you're pairing it with pasta.
One important rule: avoid slicing it the moment it leaves the oven. Let it rest for at least 30 minutes. Cutting too soon lets the steam escape, which can leave the center feeling gummy.
That's the secret to mastering an Easy Yeast Bread Recipe without any stress. It's a timeless favorite, and after tasting that fresh, home baked crust, you'll see why homemade beats store-bought every time. Let's dive in and start baking!
Recipe FAQs
Which bread is easiest for beginners?
This no-knead instant yeast loaf. It eliminates the need for complex kneading and relies on a long rise to develop structure.
What defines a 3-ingredient bread?
A basic dough made of just flour, water, and yeast. This version adds salt and sugar for superior flavor and browning; for other fast prep meals, try our lemon pasta.
How to achieve a professional crust?
Bake inside a preheated Dutch oven at 450°F. Keep the lid on for 30 minutes to trap steam, then remove it for the final 10-12 minutes.
Is it true that homemade yeast bread requires an all-day rise?
False. This specific dough only needs 2 to 3 hours in a warm, draft free spot to double in size.
Easy Yeast Bread Recipe